
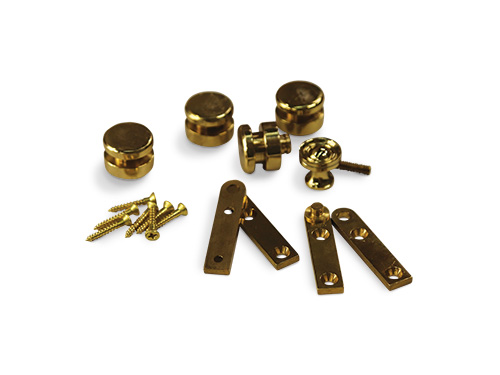
Elegance can be simple in concept and execution, and this wine cabinet is a good example of just that. Made from only five pieces, it is beautiful by virtue of its rich wenge lumber and lifted to another level with its solid-brass hardware.
When building small projects that you want to really make a statement, material selection is one essential key. Perhaps wenge is not a lumber you find attractive. If so, this wine cabinet would look amazing if made of bird’s eye, clouded big leaf or fiddleback maple. Highly figured walnut or quartersawn mahogany would also be good choices. The point is that if the design is basic, the “wow” factor must come from the beauty the wood provides. Then the hardware will enhance the whole. In a simple project, the details will carry the day. In this case, the curly cherry plywood back and the green felt lining add much to the whole, too.
First Things First
Whatever species of lumber you choose, select your most attractive pieces for the sides and the door. As always, beauty is in the eye of the beholder, but being intentional about these choices will pay dividends in the long run.
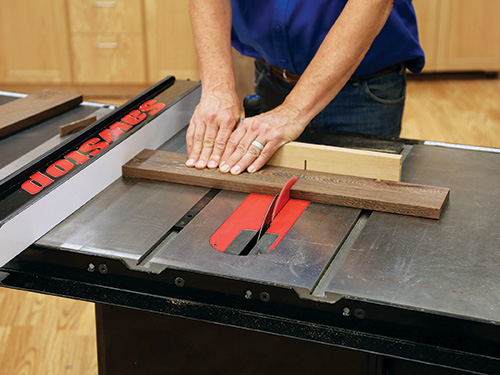
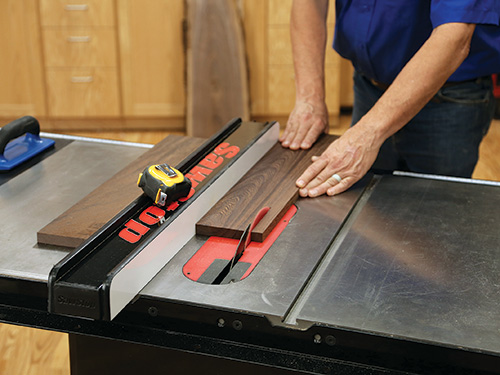
Rip the sides to width and then crosscut them to length. We did both on the table saw, but you could cut them to length using a miter saw as well. The dimensions provided in the Material List will accommodate most wine bottles, but if you have specific bottles in mind, measure them to make sure they will fit, and adjust accordingly if needed. With that step done, go ahead and cut the top and bottom pieces to size as well.
We cut out each of these parts from lumber wide enough that we did not have to glue up pieces for the sides, top and bottom.
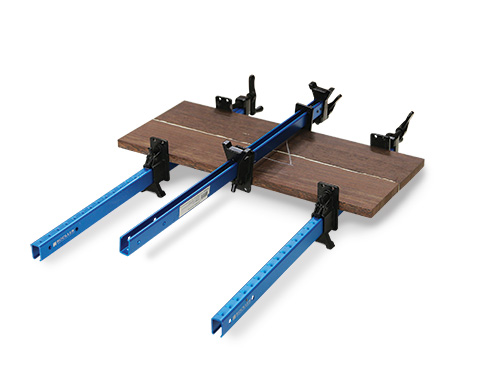
That was not true for the door. We used 3/4″ x 5″ x 24″ wenge lumber, sourced from Rockler Woodworking and Hardware. The door needs to be just a little shy of 10″ wide, so that required a center glue joint. It was our preference that the door panel look as if it were formed from a single piece of stock, so we took care to match the figure and the color of the two pieces. Joint the mating edges so that they fit together well. Use Titebond III (its darker hue is helpful here), clamp them together and leave them in the clamps overnight. If you are using wenge like we did, that extra clamping time is important because glue joints in wenge can be fussy.
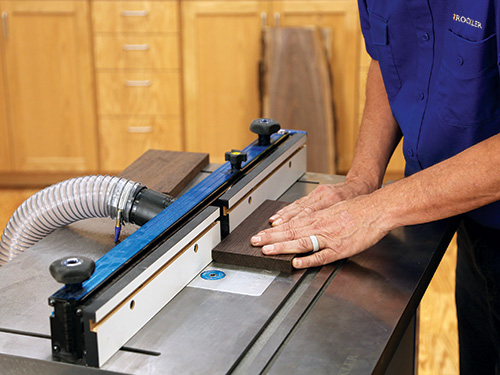
With the door still in clamps to allow the glue to cure, grab the sides, bottom and top. Go ahead and sand them up to 100 grit, then step over to the router table. The top and bottom pieces require an ogee shape on both faces of their forward edge. All the pieces need 1/4″ x 1/4″ rabbets on their inside edges.
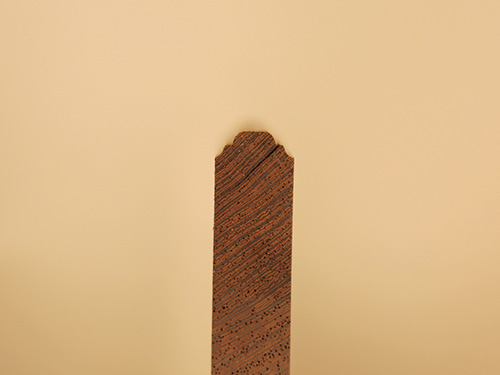
Chuck the ogee bit into the router table and set up the cut on scrap lumber. The shape should leave about a 3/8″ flat area between the two ogees. Again, if you are using wenge, move the pieces slowly across the bit. Wenge can be brittle, and tearouts are common. You may even wish to consider a climb cut to avoid trouble. You can certainly choose another edge shape rather than an ogee, but keep the depth of the shape around 1/4″ to align with the edge of the door.
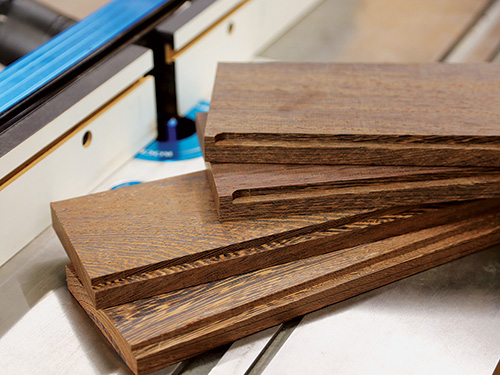
Next, chuck a 1/2″-diameter straight bit into the router table. Set the cut to form a 1/4″ x 1/4″ rabbet, checking the setup on scrap lumber. On the sides, rout the rabbet the full length of each piece. Stop the rabbets on the top.
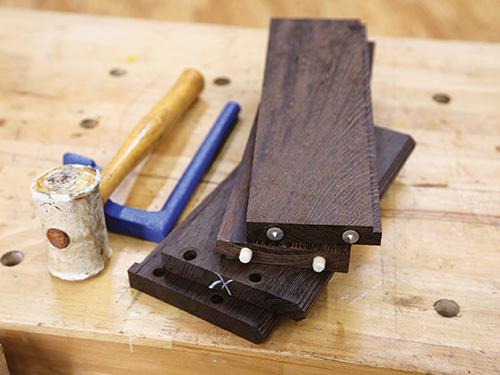
Dowels and Dowel Points
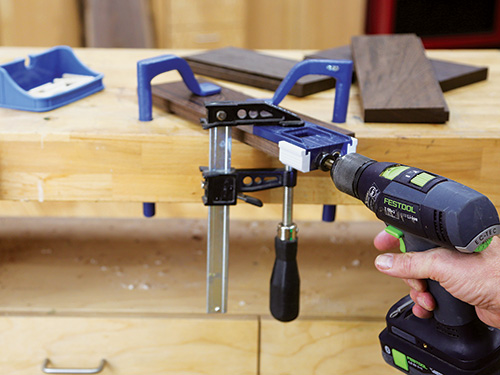
The next step is to join the carcass pieces together. We used dowels to strengthen the joints. In hindsight, biscuits might have been a better choice. There are carefully to length. Next, go ahead and sand the door smooth up through 320- grit. We chose Odie’s Oil for the finish, and with that product, the smoother the better. (It’s another important detail in taking a cabinet like this to the next level.)
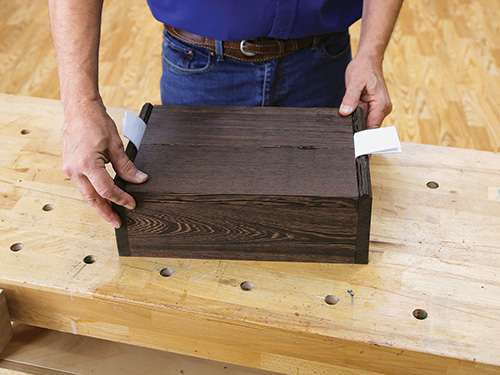
When the glue has cured on the carcass, chisel off any glue squeeze-out and sand the carcass up to the 320-grit level as well. (You may wish to install the hinges first, then remove them and do your final sanding.)
Install and then remove the door pull and the feet, then apply the Odie’s Oil. Note that with this hard wax oil, a little goes a long, long way.

Once the finish dries, put the felt pad in the carcass and attach the plywood back. Put a drop of CA glue into the holes where you mount the feet and secure them. Rehang the door with its pull, and you are ready to grab a couple of wine bottles. Enjoy the cabinet, oh … and the wine too!


