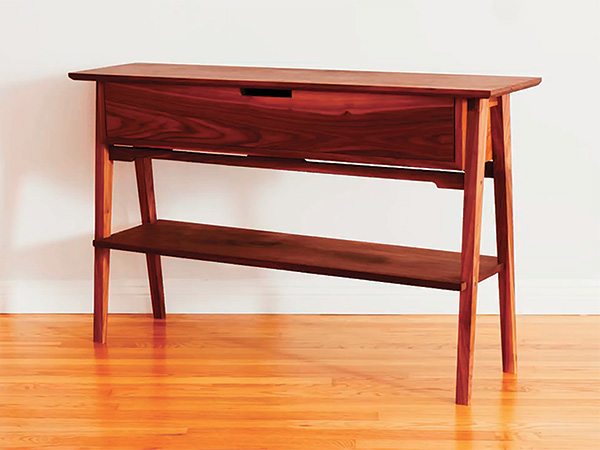
Tables like this one can go by several names: hall table, a console table or a sofa table. Well, po-tay-to, po-tah-to; to-may-to, to-mah-to; it doesn’t really matter what you call it — I’m going with “hall table,” since I’m putting it in the hall. Overall, it just matters that it looks good. Plus, it’s a nice exercise in basic woodworking.
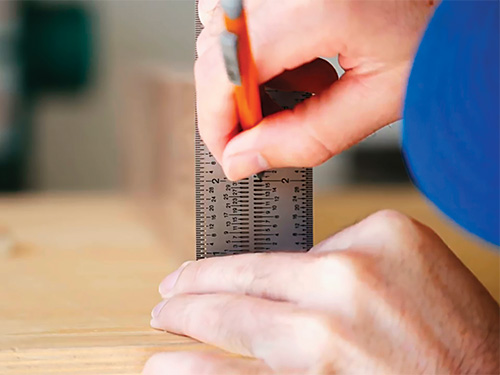
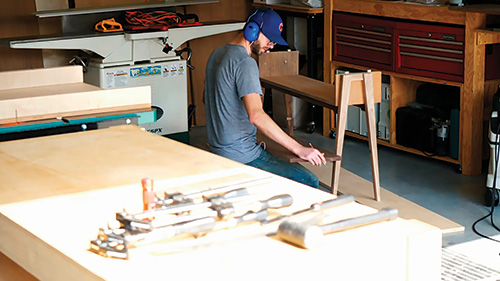
I chose to make my table out of walnut. After cutting my walnut lumber into manageable sized chunks, my first building task was to work on the legs. I ripped a board of walnut into two pieces, each of which could yield two legs for this pretty standard style of four-legged table. I first crosscut the boards to the legs’ finished length of 29-5/8″ on the table saw. I made these cuts with my miter gauge set to 5°, which is the angle of splay I wanted to maintain.
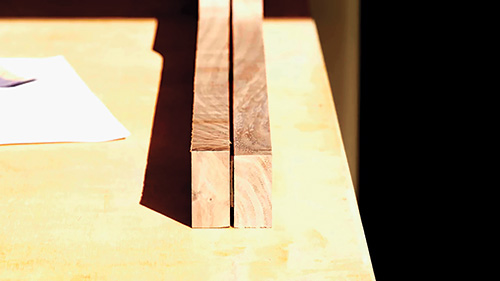
You might notice also that these legs are subtly tapered. I laid out my desired taper on the leg boards, marking lines that tapered from 2″ at the top of the legs to 3/4″ at the bottom. I lined up these marks on my tapering jig and then ripped all four legs using the jig.
I also needed to rip the upper cross braces to width; they connect the tops of the legs. I’m reaching the point in my woodworking where I want to experiment more aesthetically. In the past, I probably would have cut these pieces out of stock the same thickness as the legs. This time around, though, I made them from thinner stock.
My next markups were to lay out the joinery: I used one of the cross braces I had cut to mark out the notches in the legs where the cross braces are joined to the legs, and I also marked out the location of a dado on the legs that will hold the low shelf. See Drawings for the location of the dadoes.

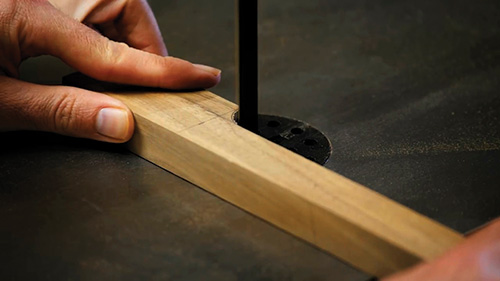
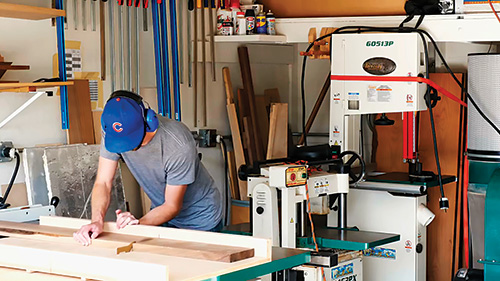
I machined the dadoes and notches on my table saw using a dado blade and miter gauge. Cut them at 5° to the edge (again, see the Drawings). Now it’s time to cut the cross braces (mostly) to length; I left them just a tad over-long so that I’d be able to use a hand saw to cut the angle to match the legs and sand them flush during assembly.
Body Building
I then turned my attention to the casework portion of this table. My material for the table sides, bottom and back — because I had it on hand from other projects — consisted of walnut plywood, with hardwood strips to cover up the plywood edges.
Obviously, if you have hardwood on hand or prefer to use it for the entire project, go ahead. I, on the other hand, roughed out the pieces for the back, bottom and sides, then I ripped and glued on the hardwood strips. Once they were dry, I sanded them flush.
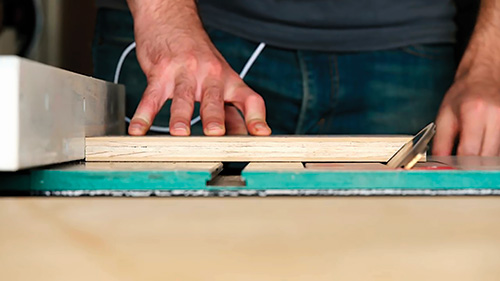
I cut a 45° bevel on both ends of the long bottom piece and on the bottom end of each of the short side pieces. I also cut a 1/4″-deep by 3/8″- wide rabbet along the back edges of the plywood pieces, which will eventually capture the back panel.

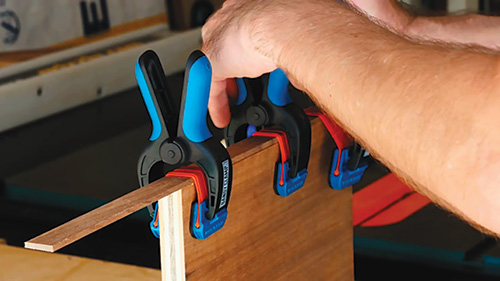
My next step was to glue up the casework. I laid my boards out flat and end to end: the ends of the sides and bottom that are joined together with bevels were taped together with blue masking tape to serve as temporary “hinges.”
I applied a thin coat of glue onto both faces of these joints, then folded the assembly up into its correct shape. I used a long bar clamp to hold the ends and bottom square to one another while the glue dried.
As that cured, I sanded and finished those pieces that would be hard to access once assembly was complete.
Hardwood Components
My next cuts, made the following night after work, were for the table’s top and the shelf. I left the shelf oversized at this point, in order to do more assembly later on in the building process.
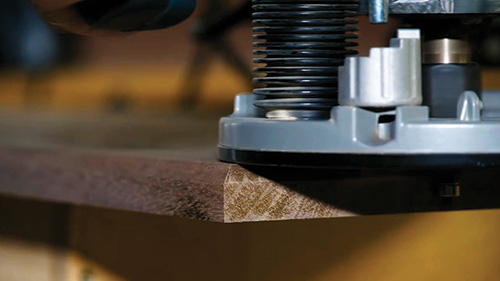
The top, however, was cut to final dimensions (see Material List). I then used a chamfer bit in my router to cut a 45° chamfer on the underside of the table’s top. It’s a bit more subtle than my usual sharp bevels, but again, it was part of my aesthetic experimentation with this piece.
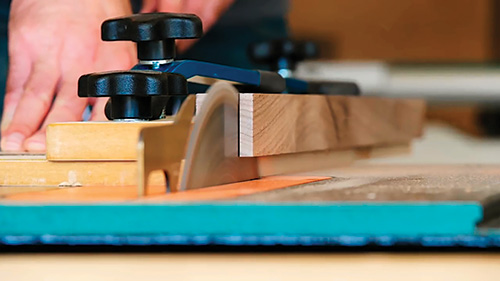
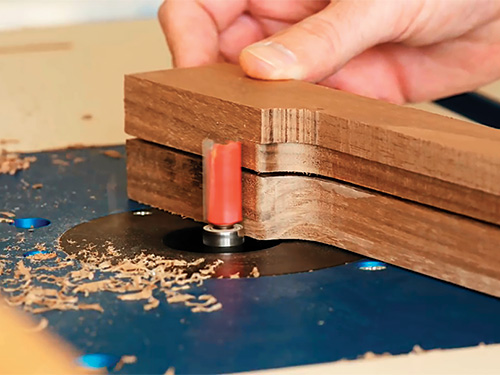
The decorative stretchers, made next, are both structural and add an attractive detail: they support the long plywood pieces to help prevent sagging. I marked out one of these pieces, then made the cuts on the band saw — sort of.
My band saw blade was too wide to get close to the radius I had drawn, so I just nibbled close to the line, then sanded the rough area to the line to complete the shaping. Since I wanted the decorative stretchers to match, after I had finished with the first one, I used it as a guide for tracing onto the second blank.
I was then able to rough the second one out on the band saw. From here, I taped the two together and template-routed the second stretcher to match the first.
Assembling the Table
With all pieces cut, except for the drawer, I was ready to start assembling my table. The legs are attached directly to the casework sides using screws — they’ll be hidden by the drawer.
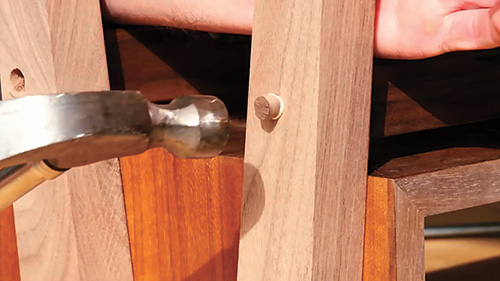
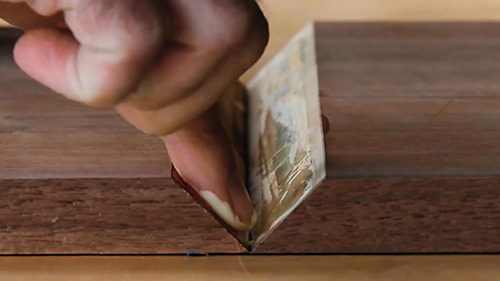
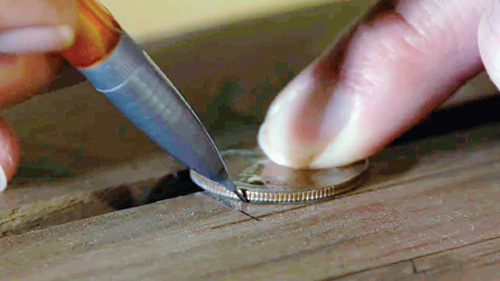
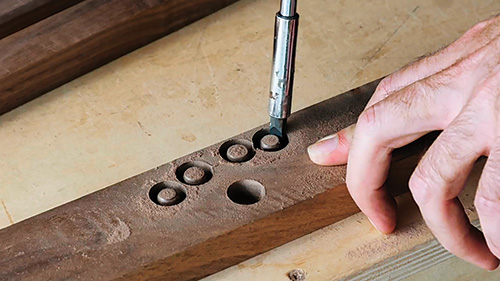
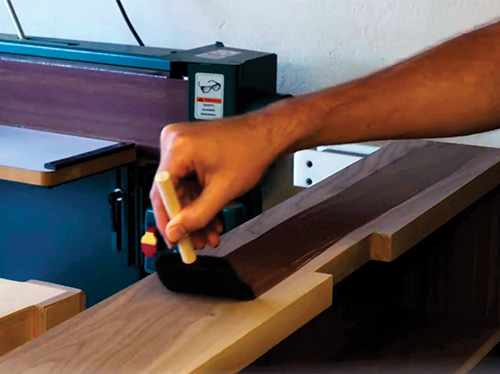
To install the stretchers, I secured them with a screw driven down through the drawer carcass at the center point of each stretcher. I also drove screws through the legs and into the ends of the stretchers, but this created visible screw holes. To camouflage their screw heads, I first drilled a recess (sometimes called a counterbore) at each screw hole with a 3/8″ bit, creating a place for the screw heads to “hide,” then I cut tapered screw plugs out of my scrap wood from the project to cover up the holes. Once I made sure the grain orientation matched the rest of the surface and sanded down the plugs, they became pretty much invisible — unless you look really, really closely.
My method of choice for attaching the walnut table top to the rest of the plywood casework was four Domino joints. (If you don’t have a Festool Domino machine, you can use dowels and get good results, too.) The Dominoes go from the top of the plywood into the underside of the top. After making the cuts in the plywood, I rested the top in position in order to mark where the cuts on the underside would need to be.
With that done, I was still not quite ready to glue the top down. Instead, I first installed the shelf between the legs, fitted into the dadoes I made earlier. I cut the shelf to size by referencing the space between the dadoes in the legs. The shelf, like the stretchers, is attached with screws, which are then hidden with plugs. (I figured I was already making the other plugs, why not just make more?) With the shelf in place, I attached the top.
Building the Drawer
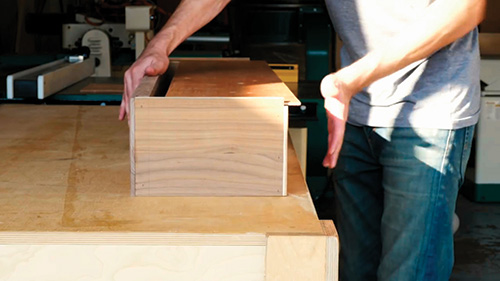
As you may have noticed, I’ve been mentioning that this table has a drawer — and its construction is next up. The drawer is just a simple box that slides tightly into the cubbyhole created by the casework. No rails, no hardware. The front and back pieces get a rabbet to accept the drawer sides, and the drawer side pieces get a groove for a bottom panel.
I used hardwood for the front panel and 3/4″ plywood for the sides and back. It probably would have been more appropriate to use 1/2″ plywood or solid stock but, again, I was just making use of whatever I had on hand.
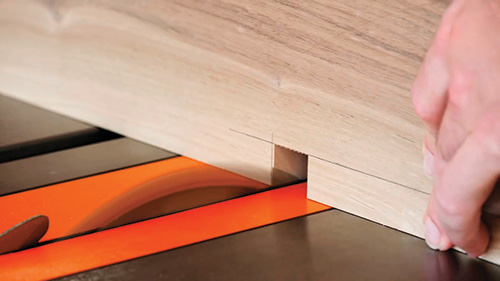
I rough-cut all the drawer pieces slightly oversized. Then I planed the solid walnut front panel down to about a 1″ thickness. I carefully fit the drawer front piece (cutting, then test fitting) to get it to the exact width it needed to be. I used that setting on my table saw to cut the drawer sides to their exact widths as well.
I used the same fit-and-cut process with the drawer back piece to find the exact length I needed and transferred that over to the drawer front. This drawer needs to fit the opening snugly. I marked out the rabbet on the drawer front to fit the plywood sides. Stepping to the table saw, I cut these rabbets by first crosscutting on the table saw, then employing a jig to run the piece vertically for the second cut to complete the joint.
I then plowed the grooves that hold the bottom in the side pieces and used that mark to determine how wide to cut the back piece to finalize it. That’s because the drawer back is narrower than the sides and front so that the bottom panel can slide in under the drawer back and be pin-nailed securely to it after the drawer is assembled. (You can find these measurements in the Drawings.)
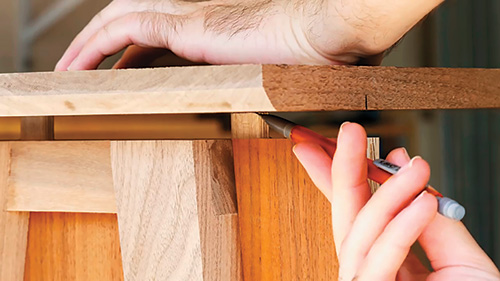
Before assembling the drawer, I shaped a cutout on the drawer front to act as a drawer pull. I made this negative space cutout on the table saw so that it fit my hand. I also shaped a small rabbet around the perimeter of the drawer front to make the reveal between the drawer and the forward edges of the carcass a little more uniform and to provide a nice shadow line. With this work behind me, it was finally time to glue up and assemble the drawer, putting the drawer bottom in last. Be sure your drawer box is square when clamped up.
Final Assembly Details
As the drawer box glue-up was drying, I attached a 1/4″ plywood back panel into the carcass opening formed by the rabbets I had cut earlier.
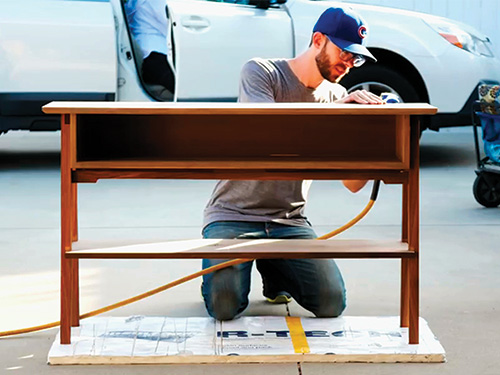
Now it was time to do the final sanding and apply a finish. For this project, I opted for several coats of drying oil followed by a coat of paste wax. Oil and wax is a great solution to warm up the walnut’s color, and the finish is easily touched up, if needed. This was a fun project to build and, call it what you will, it now looks great in our hallway.
Click Here to Download the Drawings and Materials List.
Chris Salomone got into woodworking and designing furniture in 2008, when he and his wife bought a house and needed to fill it. This led to community college woodworking classes, then to building custom furniture through his foureyesfurniture.com business, and then to his YouTube channel, where he hopes to entertain and inspire you with the videos of his designs and builds.


