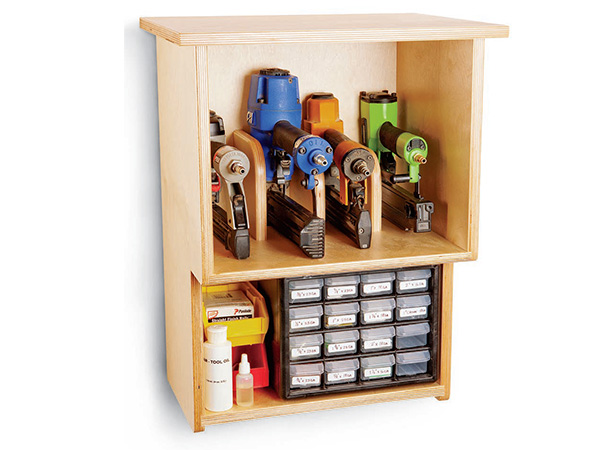
Nail guns have a way of multiplying in my shop. It began with an 18- gauge brad nailer, followed by a finish nailer, pin nailer and crown stapler. If your collection has also grown, you know that more nailers means more nail sizes. Those little blister packs of fasteners ended up scattered, and I found myself buying duplicates instead of just getting better organized. Well, no more. This plywood cabinet will keep everything tidy. My idea started with the black plastic 16-drawer case you see above. The drawers fit full nail clips like they were made for them. Now I know where every size is and when I need to buy more — or when I don’t.
Grab some plywood and follow along with me to make one for your shop.
Making the Sides
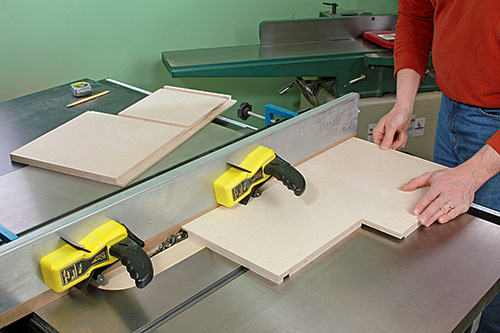
Begin the side panels by cutting two 3/4″ plywood blanks to size, then lay out and remove the lower “stepped” portion from both using your band saw or jigsaw. Next, cut the top shelf to size, and make an overly long blank for the back panel that measures 16-1/4″ x 19-7/8″. Tilt the blade on your table saw to 45 degrees and slice off a 5″ piece from one end. This beveled offcut forms the French cleat for mounting the cabinet to the wall. Set it aside for now.
Switch out your standard blade for a dado set, and adjust it carefully so its cutting width matches the thickness of your plywood stock. Raise it a quarter inch above the table. Use your miter gauge outfitted with a long fence to support the side panels as you cut the top and bottom shelf dadoes. Notice that the top shelf dado intersects the stepped edge of the side panels. And remember, the sides are mirror images of each other — not carbon copies. This matters when orienting the panels correctly for dadoing.
With these dadoes done, crank the blade up to 1/2″. Clamp a sacrificial facing to your rip fence, then position the fence next to the blade to mill 3/4″-wide rabbets along the back inside edges of the side panels. These will house the back panel.
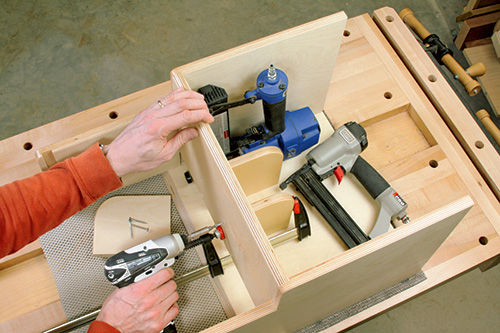
Before you can assemble your parts, chuck a 1/2″-diameter roundover bit in your router and ease the front bottom edge of the top shelf. Now clamp the shelf into its dadoes in the sides and use the shaped edge as a guide for filing the square corners of the sides to match the shelf. (You’ll also notice that the top shelf stops short of the back panel rabbet by 2-1/2″ — it’s no mistake. That gap makes room for the protruding nailing tips of your guns so they’ll rest flat on their magazines on the shelf.) Round over the bottom front corners of the side panels, too.
This is the right time to sand all of the project parts up to 180 grit. Mask off the dadoes and rabbets in the sides before applying finish. It’s easier to topcoat flat surfaces now than inside corners later!
Assembling the Carcass
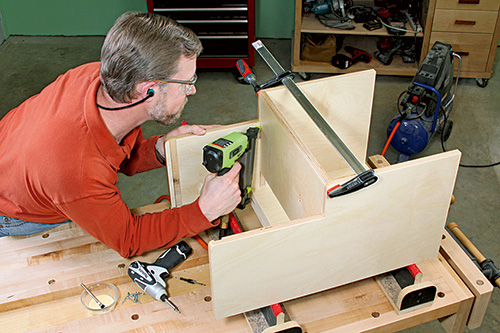
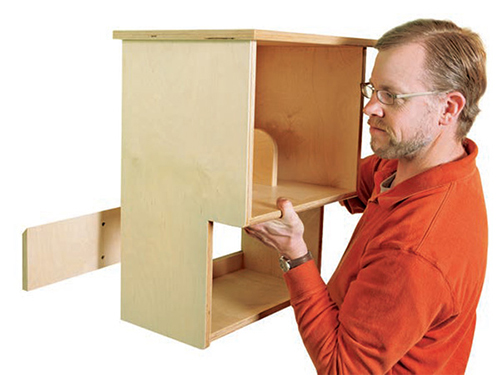
Avoid making the same mistake I’ve made before when assembling parts with French cleats: Your back panel’s beveled edge should face into the cabinet, not toward the wall. Fasten it into the side panel rabbets with glue and screws to bring these parts together. Then slip the top shelf into its dadoes and attach it with glue and brads.
I made three dividers in sizes to support my guns and make them easy to grab, but the proportions should work for most models. Shape their top corners with a 2″ radius and round over the sharp leading edges. Finish the dividers before screwing them to the top shelf and back panel, spaced as needed to fit your guns.
Wrapping Up
Turn more plywood into the bottom cleat, bottom shelf and cabinet top panels. Finish and install them, locating the bottom cleat flush with the bottoms of the side panels — it creates enough clear space for the French cleat to fit through the cabinet back and up into place. Then find a wall stud to mount the French cleat — bevel edge facing the wall. Rest your cabinet on it. Drive another screw through the back panel in the upper cabinet area and into the stud to lock the project in place. Now load it up for full nailer convenience!