Where do project ideas come from? In the past, my wife often brought me catalogs filled with items more costly than we were willing to buy and asked, “Can you build one of these?” (Have you ever met a woodworker who would answer “no” to that question?) My kids have come to me over the years saying that they need a bookcase, cutting board, bracelet holder, rocket ship (I did not make that last one up!), you name it. But the table you see here was a different story. Last summer, the staff here at the Journal was working on converting some of our out-of-print archival projects to a downloadable format, and I caught a glimpse of a black-and-white photo of a table.
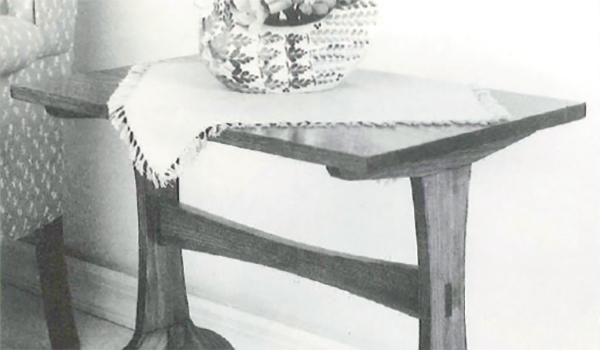
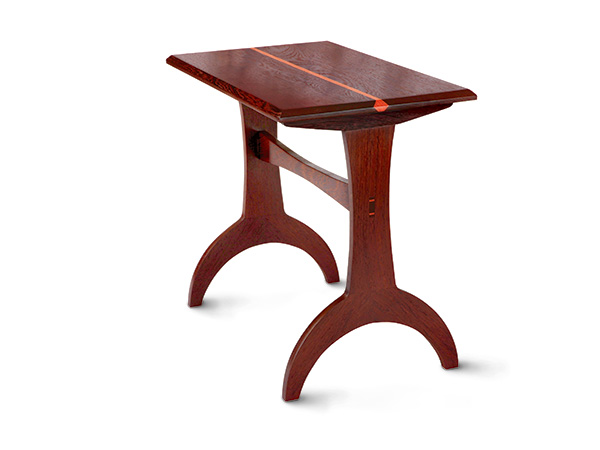
“Wow, that is a really stylish, modern-looking table design,” thought I, “I need to take a closer look at it.” To my surprise, it was not a modern design at all, but a traditional pine country table. Still, there was something about it. I started to wonder what it would take to convert the humble country effort to a modern-looking end table. After a quick chat with art director Jeff Jacobson, the answer came back: “not much.” I removed some little nubs on its feet, added a chamfer around the top, changed the species of wood, inserted a cherry accent strip and added a second wedge to each tenon — and the deal was done. The design had gone from down-home to uptown in just a few minutes. Now all I had to do was build it!
Starting with Species and Grain Selection
The original country table had been built from plainsawn pine — a reasonable and traditional choice. The modern version could have been made from a straight-grained, light-colored softwood like Douglas fir or longleaf pine, but I had been thinking of using quartersawn ash and dyeing it nearly black. As I was perusing my favorite lumber racks, looking for just the right ash lumber, I glanced over and saw a stash of some really large wenge boards. I did a sort of double take, because the wood had many of the visual characteristics that I had hoped to develop in dyed ash lumber — only here it was naturally occurring in the wood. So, I grabbed one of the long and wide wenge boards, measured it up and found I could get the whole table out of that one piece. (This entire table uses less than eight board feet of lumber.) The grain of the plank changed from riftsawn at one edge to cathedral figure on the other edge. After noodling it over for a bit, I decided that all the legs and feet would be made with riftsawn figure. The only place the cathedral grain would be seen would be on the stretcher and the table top.
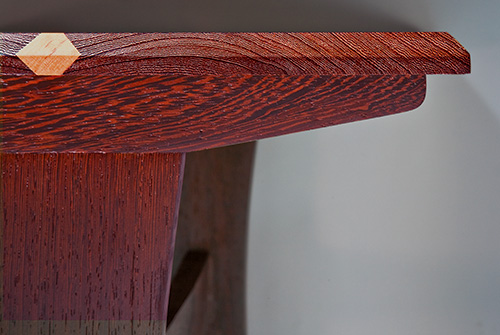
Additionally, for the table top, the riftsawn grain would be oriented to the outside edge of the top with the cathedral figure divided by a cherry accent strip down the center. At first, I thought the cherry accent was just going to be a narrow strip to add a touch of color. I also planned to use two cherry wedges in the exposed through tenons on the legs as additional accents. But, after looking at Jeff’s CAD drawings of the table, it occurred to me that a 3/4″ x 3/4″ accent strip, turned 45° to the plane of the top, might bring some visual interest to the piece. I blame this kind of thinking on master woodworker Ian Kirby, who has influenced my design sensibilities over the years. A tweak of the CAD drawing convinced me I was right, and my coworkers agreed. With those choices made, it was time to start making sawdust.

One quick word about wenge. I had never used this species of wood before this project. I found it to be a very dense hardwood that cuts, glues and finishes well. One detail that I learned about wenge the hard way is that it splinters, very easily, on the edges. While I didn’t find this to be a problem in general, when I got to chopping the through mortises on the legs, it gave me fits. I needed to resize the openings and carefully insert the tenons to avoid breaking out the edges of the openings.
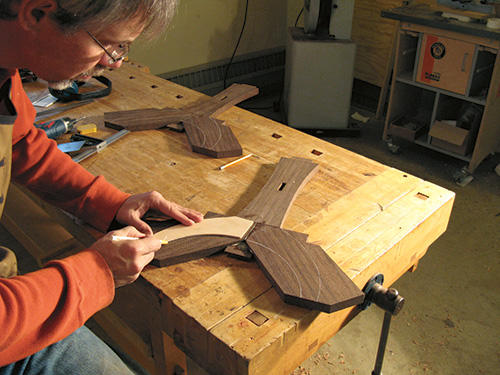
Making the Legs and Feet
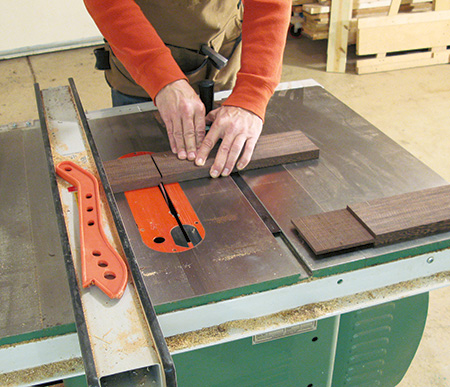
The feet, cleats and legs (pieces 1 through 3) of the table form a shapely support for the table top. In addition, they are made with a couple of nice pieces of joinery which are attractive, fun and practical. I recommend beginning by making the legs. I cut them to width and length, marked out the mortise location and then stepped over to the table saw to raise the tenons on the ends of each leg. (Note: if you choose to use wenge as I did, I found it important to use a white pencil to do my markup; the wood was too dark for a regular pencil line to be seen.)
Because the tenon on the foot end of the leg was so long (4-1/4″), I couldn’t slice it with a traditional tenoning jig, so I nibbled away the waste. (I would have used a dado head in my saw, but I discovered that my new table saw will not accept my old dado cutters! Even woodworking editors are forced into workarounds …) With the tenons formed, I then chopped out the through mortises with my mortising machine. You can also cut the cleats to length and width and use the mortising machine to form those mortises as long as you have the mortising machine set up. If you don’t have a dedicated mortiser, use a Forstner bit and a chisel to chop them. With those tasks behind me, I moved on to the feet.
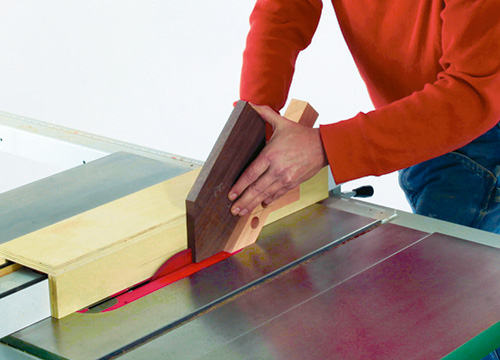
Start that process by cutting blanks for the feet that are 5″ wide and 10-7/8″ long. Next, cut the blanks to match the geometric pattern shown in the Drawings. You will machine these pieces while they are in this shape, forming open mortises that capture the long tenon on the end of the legs. This happens when all three pieces are glued together. I used a modified tenoning jig on the table saw to cut those open mortises. The jig’s fence leaned back at 45° so I could plow the opening in each foot. I tested the fit of the open mortise on the tenons as I went.
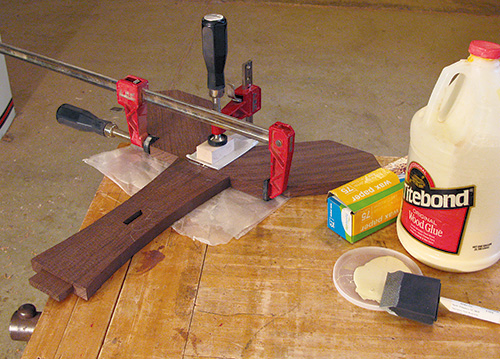
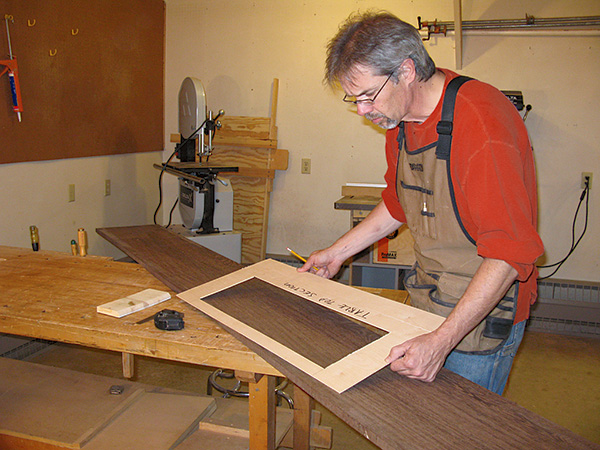
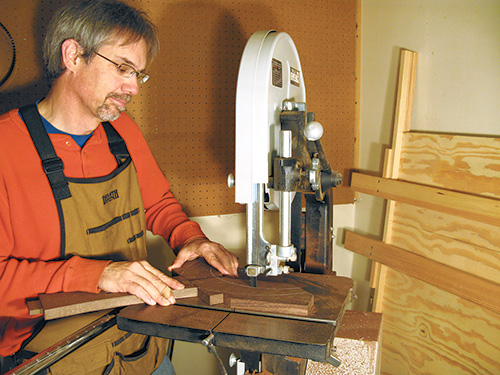
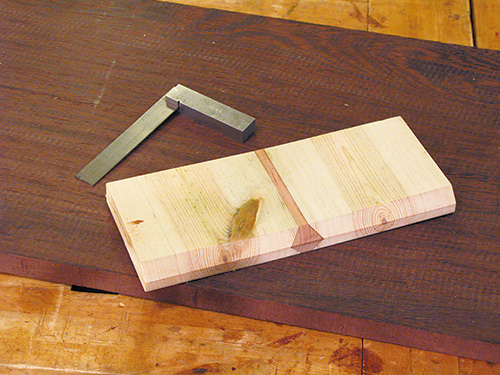
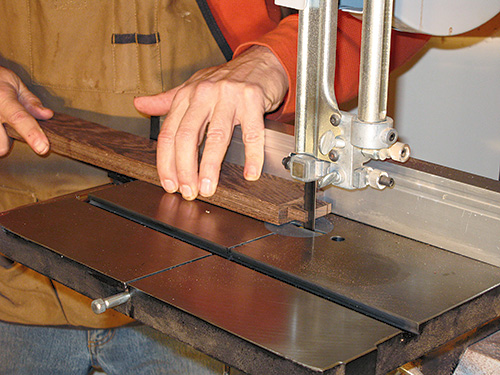
Then I stepped to the band saw and cut a couple of square notches on the foot pieces that would help me clamp them together more easily. Staying at the band saw, I cut the curves onto the edges of the legs, the last step before gluing the feet and legs together. Glue-up not only required clamping across the face of the legs, but I squeezed the open mortise walls together, using wax paper to keep the glue block and the bench from getting stuck to the glue-up. After the glue had cured, it was time to mark out the final leg shape on the subassemblies and cut them out on the band saw. I took the time to make accurately shaped templates from scrap 1/8″ plywood of the foot shape. I did this for all of the shaped parts. It takes just a few minutes, but it provides an added level of control and makes the rest of the process go much more smoothly.
While the cleats are still in a rectangular shape, take a few moments to bore the holes for the screws that will secure the table top to the cleats. These are two step holes as shown in the Drawings. Following that, I cut the profiles onto the lower edges of the cleats as shown in the Drawings.
Once the legs, feet and cleats were cut to shape, I took them over to my spindle sander and sanded the edges up to the marked out lines. With that done, I glued and clamped the cleats to the top of the legs and allowed the glue to cure. At that point, I set them aside and moved on to the last couple of components.
Building the Table Top and Stretcher
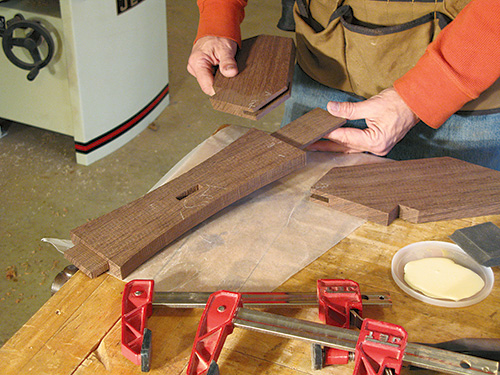
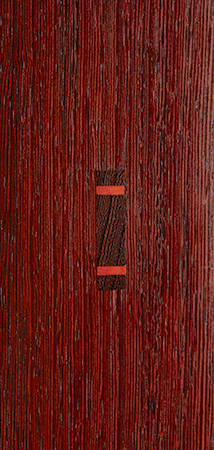
The table top is composed of three pieces of wood, and the stretcher is secured with cherry accent wedges (pieces 4 through 7). As I mentioned before, the stretcher was formed out of the cathedral grain section of the stock. I cut it to length and raised the tenons on its ends as I did with the legs. (See the Drawings for construction details.) The original country table used only one wedge per tenon, which did not make sense to me if it was intended to be something other than eye candy, so I placed two wedges per tenon, as shown in the Drawings.
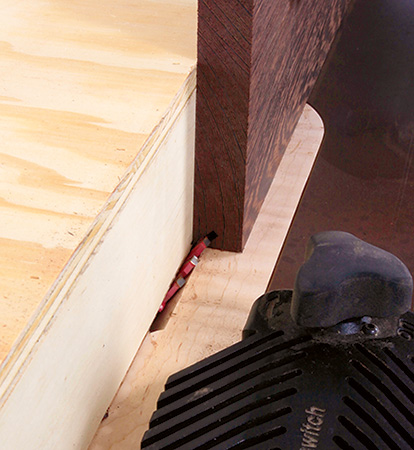
The table top is simple in concept, but a little tricky in execution — only because it is a long, exacting joint. Go ahead and cut your two tops just slightly oversized, so you will have a bit of stock to trim if necessary. Making the V-groove cut on the table saw requires some preparation. You will need to secure a sacrificial face to the saw’s fence in such a manner that you can slide the tops without obstruction. You will also need a zero clearance insert in place that you sliced the blade opening through at 45°. This is because you need to form the V-groove, but leave a very small amount of wood in place on both sides of the V — less than 1/16″. That tiny bit of stock needs the zero-clearance insert to ride on. I also used a featherboard to help control the cut. I heartily suggest that you test your setup with some scrap lumber and even go all the way to glue-up as I did. It is an odd little joint, and practice never hurt anyone!

When I had the tops machined, I formed the insert strip by cutting an over-long piece of 1″ cherry and then machining it perfectly square in my planer.
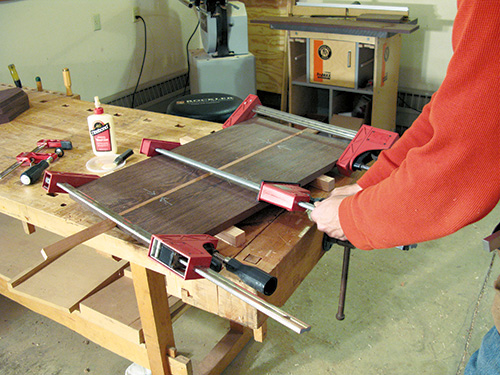
Glue-up of the table top was not tricky at all, but I did check to make sure that the two tops were aligned with each other (flat across their width). Once the glue had cured, I used a hand plane to remove the triangle of cherry that protrudes over the flat surfaces of the table top. Then I cut it to final size. There are a few ways that you might create the rather large chamfer on the edge of the table top, but seeing as I had the 45° zero-clearance insert already made, I just did it on my table saw. It worked really well.
Wrapping Up the Last Details
All of the components were now complete, which left just a couple things to do … first off, you guessed it … sanding. One nice thing about this little table is that there are a lot of flat surfaces, which are easy to sand. One not so nice thing about this table is that there are a lot of curved edges to sand — which are a lot trickier to do well. I used a combination of spindle sanders and hand sanding on the edges. For the flat surfaces, I used my trusty 4 x 24 belt sander and a random-orbit sander. But I always do my final — in this case 320-grit — sanding by hand. I “broke,” or gently rounded over, the edges of the pieces during this step.
Once the sanding was done, it was time to glue the stretcher in place. This was done with extreme care to avoid breaking off an edge of the through mortise. I cut a temporary brace for the clamp-up that was exactly the distance from shoulder to the shoulder of the stretcher. This allowed me to clamp top and bottom on the leg subassemblies and keep the assembly exactly square. I glued the wedges and tapped them in place, wiped all the excess glue clean with water and a soft rag, then waited for the glue to cure. When the glue was dry, I trimmed the excess off the wedges and sanded the tenons and wedges flush to the legs. Now it was ready for the finish.
I finished the table top and the legset separately. My first application was amber shellac mixed three to one with denatured alcohol (right from the can). I wanted the amber color to highlight the lighter grained flecks in the wenge. I paid special attention to the end grain, making sure to seal it well. Then I used three coats of sprayed-on shellac from an aerosol can, de-nibbing between coats with #0000 steel wool. I applied a final coat of lacquer from a spray can, because I think the lacquer is a little tougher than the shellac.
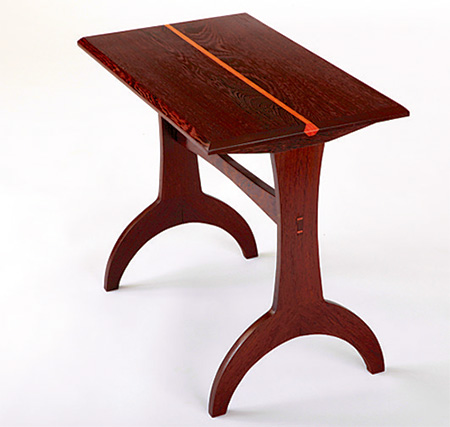
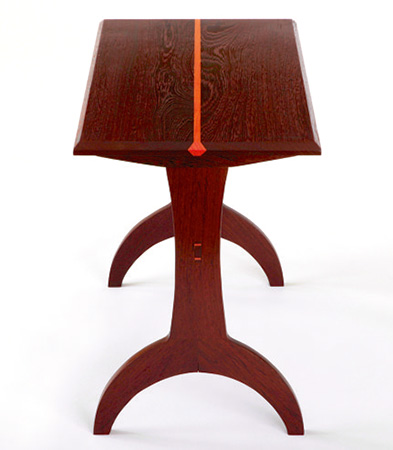
Once the finish had cured, I attached the top to the leg-set with screws, and the table was completed. And I must say that I think it turned out well. The dark wenge accented by the cherry lumber looked very sophisticated: equally as attractive, but quite a bit different from, its country pine table origins.


