It’s tough to do much woodworking without reaching for a glue bottle and some means of spreading it around or dispensing it into joint parts. Over time, you’ll likely end up with a bottle of nearly every “flavor” of glue out there. I keep five types of PVA glue, hide glue, four viscosities of CA glue and a couple of small bottles of five-minute epoxy. Along with the adhesives, I have all sorts of Rockler silicone glue brushes, including those made for dowel, biscuit and other specific joints. And just recently, I’ve added some new silicone glue bottle caps for joinery to my collection too — they’re brand new from Rockler.
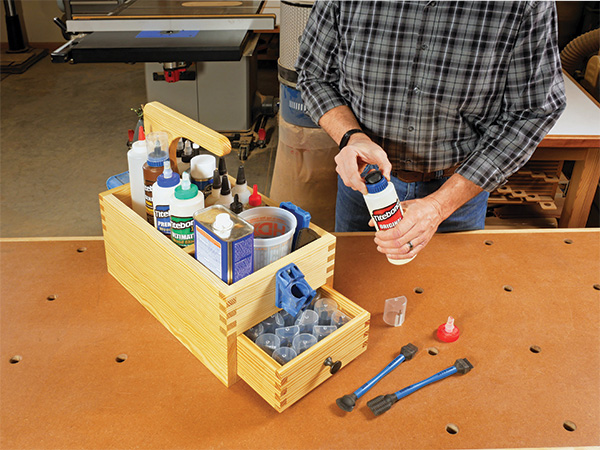
All of this stuff has needed organization for some time, and with this gluing supplies caddy, I think I have the solution. On top it’s amply sized to hold all the glue options, plus a quart of mineral spirits for checking for glue splotches and a small pail and sponge for cleaning up squeeze-out. Underneath, there’s a drawer for storing a bunch of glue brushes, a putty knife and my new Rockler glue bottle caps. The drawer is divided and slides out from either the front or back of the caddy to make it easier to find what I need. It’s held closed with pairs of rare-earth magnets to keep it from sliding open when I carry the caddy from where I’ll keep it to the bench for use. If your gluing supplies could use tidying up too, that’s a good excuse to commit some energy and a bit of lumber to this project on a Saturday morning sometime soon.
Building the Carcass
Get this build underway by gluing up panels for the carcass sides from 3/4″ stock, as needed. Rip and crosscut them to final size, according to the Material List. Then cut a pair of workpieces for the carcass front and back to size.
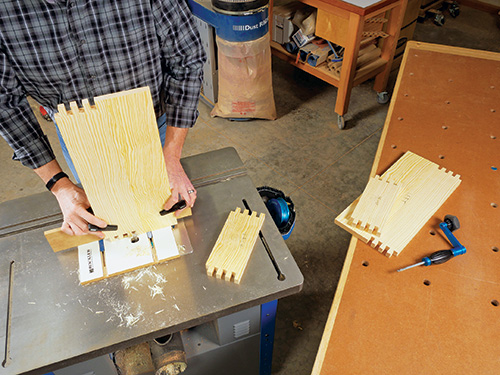
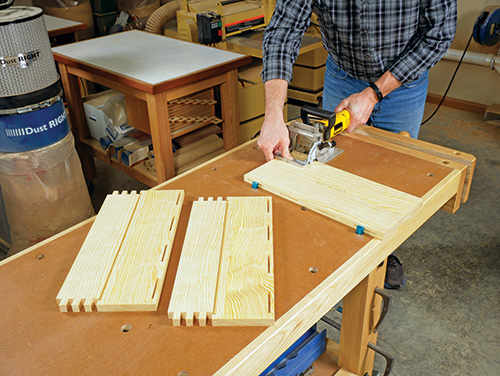
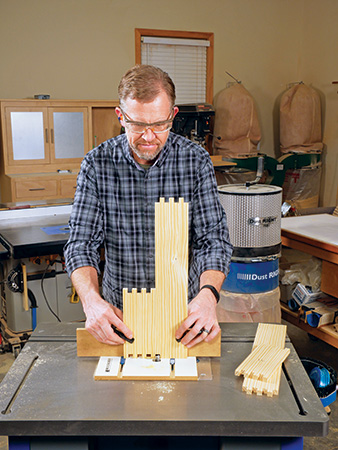
The front, back and side panels connect with 1/2″ box joints. I made them on the router table with Rockler’s box joint jig and a 1/2″-dia. upcut spiral bit. But, you could also make them on the table saw with a 1/2″-wide dado blade and a shop-made jig. Raise the bit or blade to 3/4″ so the pins and slots of the joints will enable the workpieces to mesh completely together. Start the joints with a pin at the top edges of the front and back pieces, and machine the pattern across the full width of these two parts. Then use them as spacers to mill a mating joint on the top edges of both side panels. Here, there should be a slot that starts the pattern. Mill four slots and three pins only.
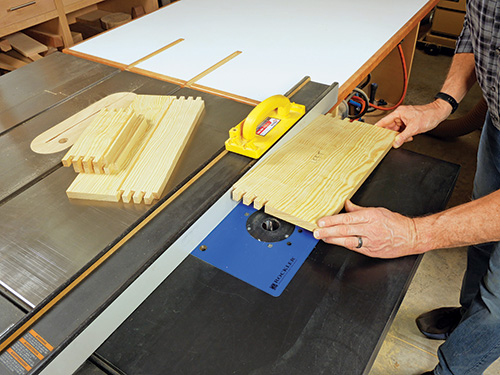
Next, install a 1/4″ straight or spiral bit in your router table so you can plow 1/4″-deep grooves on the inside faces of the front, back and sides for the caddy’s top deck. Adjust your router table’s fence so these grooves align with the bottom edge of the bottom pin on the front and back panels. Plow them the full length of the workpieces.
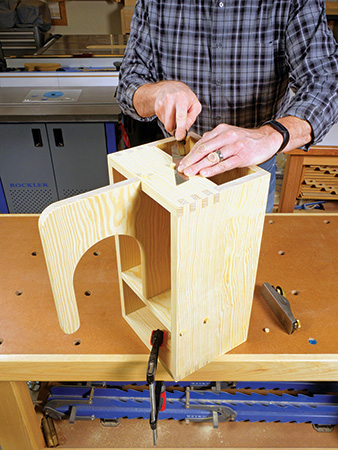
Use the same router table setup to plow grooves for the deck on the side panels. This time, however, mark the cutting limits of the router bit on the fence so you can start and stop these groove cuts 1/2″ in from the front and back ends of the side panels in order to hide them when the carcass is assembled. Square up the ends of the grooves with a chisel.
Now you can cut a 1/4″-thick deck panel to size — I used MDF for mine. Prepare a 3/4″-thick bottom panel, too. Then go ahead and dry-assemble the six carcass parts you’ve made up to this point to ensure that the box joints close properly with the deck and bottom panel in place. If they do, sand the inside faces of the front, back, side and bottom panels up to 180-grit.
How you’ll install the bottom panel in the carcass is entirely up to you. I decided to use biscuit joints and machined four evenly spaced #20 biscuit slots into the adjacent surfaces of the bottom and side panels for this purpose.
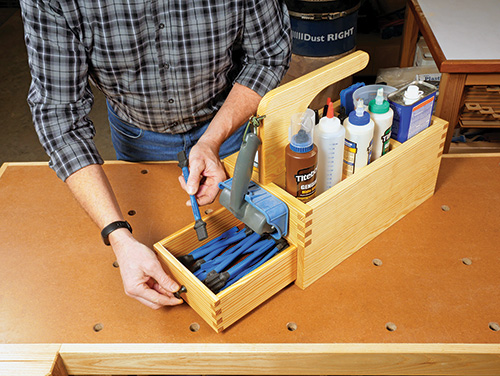
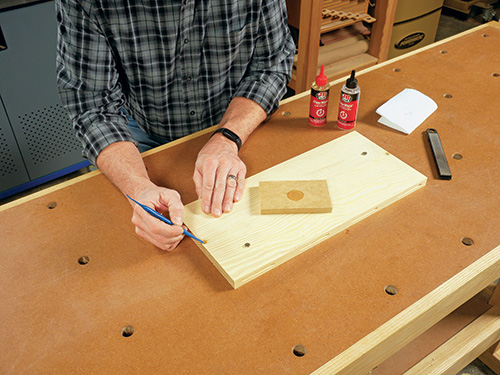
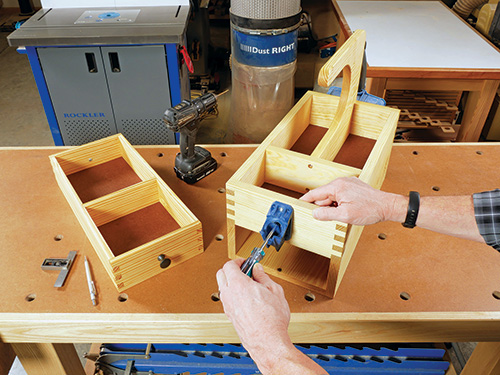
As you can see, the drawer can be opened from either end of the caddy. And since this project is intended to be carried where it’s needed, it’s a good idea to provide some provision for a drawer “catch.” Four 3/8″-dia. rare-earth magnets can accomplish this purpose nicely! We’ll embed two magnets in the top face of the bottom panel and do the same in the bottom edges of the drawer’s front and back pieces. This way, when the drawer is closed, the pairs of magnets will attract one another and hold the drawer in place. I used a 3/8″-dia. Forstner bit to drill shallow holes for the magnets in the inside face of the bottom panel and then glued the magnets into place with quick-setting two-part epoxy. Make sure the top faces of the magnets are flush with the panel’s face.
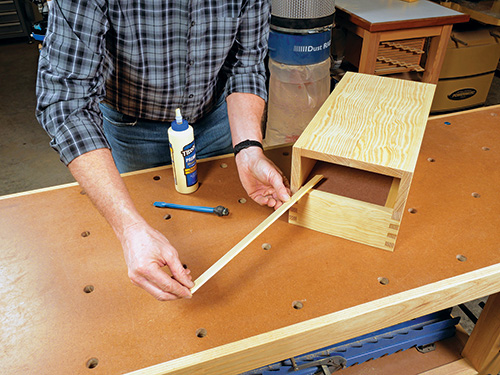
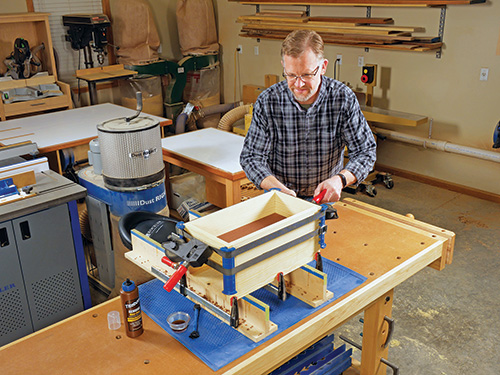
Next, spread glue over the pins and slots of the four box joints and into the biscuit slots, and clamp the carcass together with the deck, bottom panel and biscuits in place. When the glue cures, rip and crosscut two strips of 1/4″-thick scrap to create drawer guides. Glue and clamp them to the bottom of the deck inside the drawer “tunnel,” with their long outer edges flush against the carcass sides.
Adding the Handle
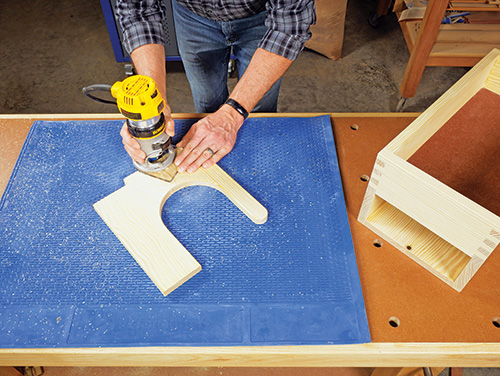
Cut a blank for the handle to size, as outlined in the Material List. If you’re building your caddy from solid lumber as I did, make sure to orient the grain direction so the long grain will be parallel to the handle’s top grip (the grain should run horizontally when the handle is in place on the caddy). Lay out the handle’s shape, using the Handle Drawing as a guide.
Now step over to your band saw to cut out the handle, or use a handheld jigsaw. Sand the cut edges and faces of the handle smooth. Then ease the sharp edges of the portion of the handle that will extend above the carcass with a router and 1/8″-radius roundover bit. Or break these edges with sandpaper.
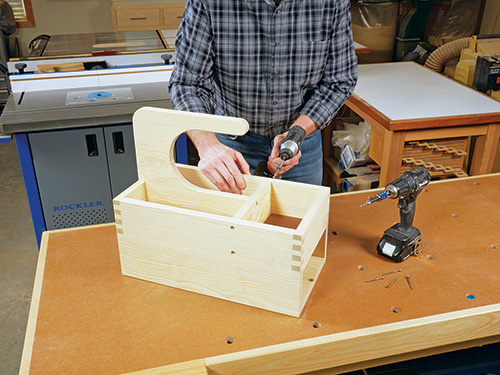
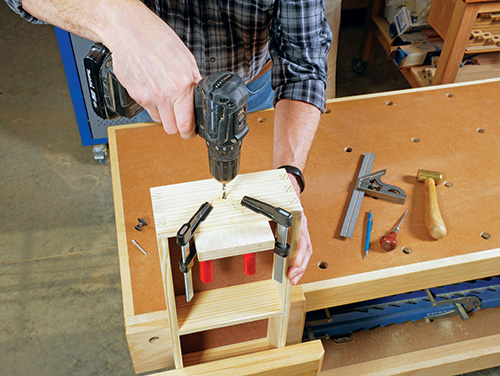
Cut a divider for the upper area of the caddy to size from 3/4″ material. It should fit snugly between the side walls of the carcass. Center the front end of the handle on the length of the divider, and fasten the parts together by driving #8 x 2″ countersunk screws through the divider and into the handle.
Slide the handle assembly into place on the caddy. Drive more countersunk screws through the sides and back of the caddy to secure the divider and back end of the handle. Cover the exposed screwheads, if you wish, with matching wood plugs. Trim the plugs flush and sand them smooth.
Assembling the Drawer
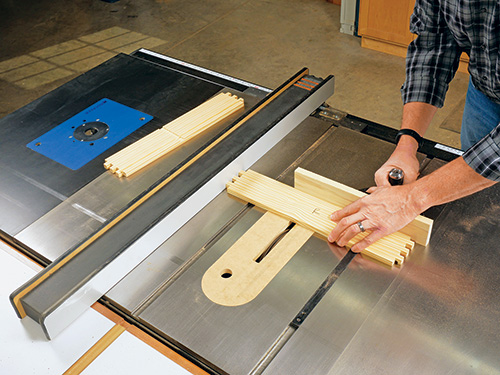
Joint and plane enough 1/2″ stock to make the drawer’s front, back, sides and drawer divider. Cut the parts to size. We’ll assemble the drawer with box joints to mimic those on the caddy. Set up your box joint-making system again, only this time, adjust the cutter height to 1/2″. I arranged the pattern so the drawer faces would have pins on their top and bottom edges. Mill all four corner joints.
Just as before with the carcass, dry-fit the corner joints. If all looks good, plow a 1/4″ x 1/4″ groove for the drawer’s bottom panel into the inside faces of all four parts. Locate these grooves 1/2″ up from the bottom edges of drawer workpieces. That placement enables you to rout the grooves along the full length of the drawer front and back. Stop the grooves 1/4″ in from the ends of the drawer sides so they won’t show.
I decided to install the drawer divider with dadoes rather than simply nail or screw it to the sides, because sometimes a rogue nail will go sideways when driven into such thin material. I used a 1/2″-wide dado blade set 1/8″ above the table to plow dadoes all the way across the width of the drawer sides for the divider panel. I located these dadoes 8-1/4″ from the same ends of the drawer sides.
edge of the drawer front and back for inserting
the second pair of magnets. Be sure to double-
check for correct polarity with the bottom
panel magnets before gluing these into place.
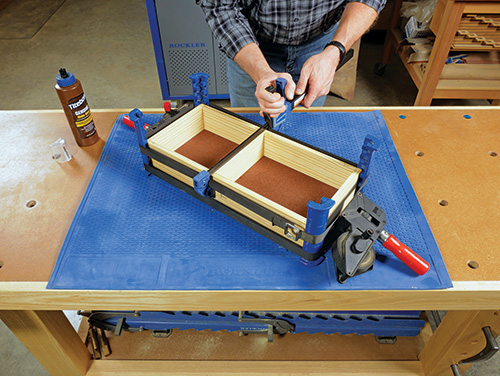
After you cut a 1/4″-thick bottom panel and a divider to size, fit all the drawer parts together without glue to make sure the joints close correctly. If they do, sand the inside faces of the parts up to 180-grit. Then glue and clamp the drawer together. Make sure the corners remain square under clamping pressure; the diagonal corner-to-corner measurements of the drawer should match.
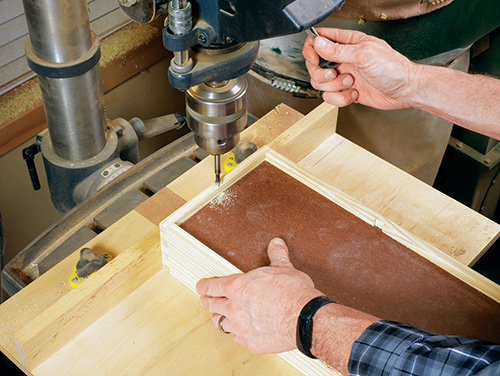
Once the glue dries, mark and drill a centered hole into the bottom faces of the drawer front and back for the other pair of magnets. Epoxy them into place, but before you do that, make sure to orient them so their polarity will attract the magnets in the carcass bottom instead of repel them.
Finishing Up
Finish-sand the outer surfaces of the caddy and drawer, and break all sharp edges either with sandpaper or a 1/8″ roundover bit. Then measure and mark a center point on the outer faces of the drawer front and back, and bore a 3/16″-dia. hole through each for a machine screw to attach the drawer knobs.
Apply finish to your new caddy. I wiped on several coats of Rockler’s Sam Maloof Poly/Oil Finish — it’s an amber-toned oil/varnish blend — to make the most of the grain pattern and color of my caddy’s southern yellow pine.
When the topcoat cures, install the two drawer knobs and fill this handy shop project up with your collection of glues and applicators. I attached a hook to the back of the handle for hanging Rockler’s 5″ Glue Roller and mounted a Glue Bottle Dock to the front with a couple of machine screws.


