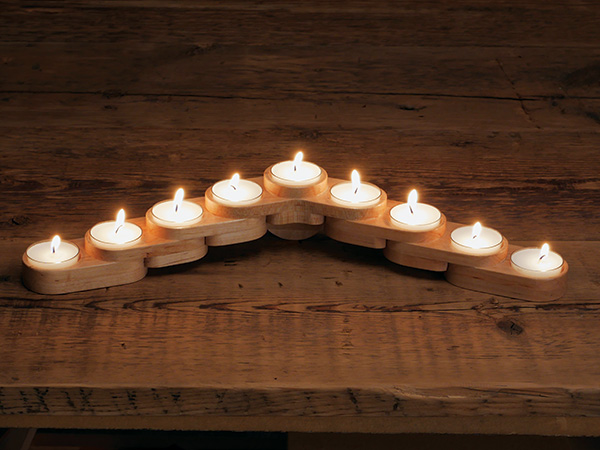
Whether secular or religious, festive candleholders are an integral part of the holiday season. My “modular” design uses tea light candles for a stylish, modern look. It can be made with nine candles as a menorah or with fewer candles as a table decoration.
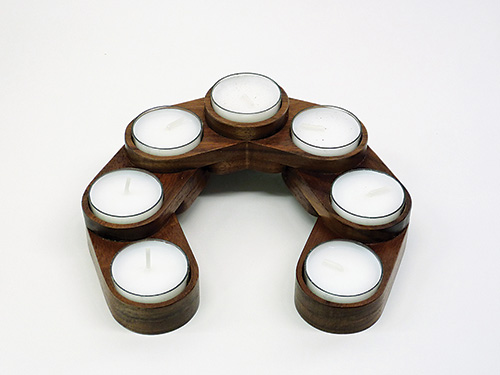
All versions require one center module and two end modules; the number of side modules linking the center and end modules can vary as you wish. The modules can be arranged and glued to form either straight or curved arms.
Cutting Components from Patterns
Each module consists of two 3/8″-thick pieces: a top piece that is drilled with holes for the candles and a bottom piece that allows the convex and concave ends of adjacent modules to slide into each other. Additional pieces of 3/8″-thick stock are used for the lower center support and the collar for the center candle.
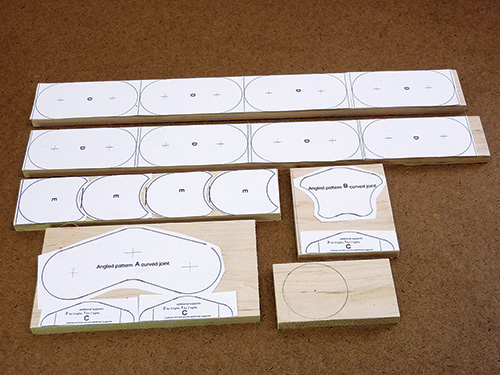
While all of these parts can be cut out with a scroll saw, you can expedite the cutting process for the side and end modules by first using a table saw to rip that stock to 1-7/8″ wide.

We’ll build the nine-candle menorah shown here. Start by downloading and printing out the free PDF patterns, cut them out and attach them to your 3/8″ stock with repositionable spray adhesive.
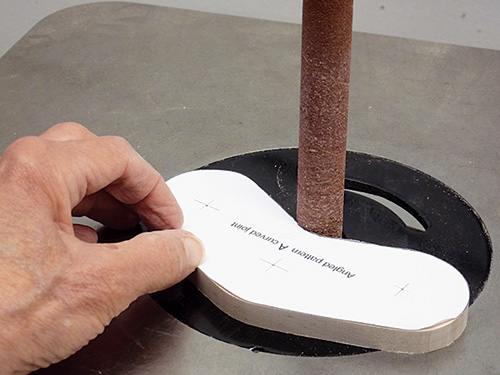
Prick all drilling points with an awl, then cut and sand all pieces labeled A through E to shape. Trim the sides where indicated from two of the C pieces. Then remove the paper patterns and any adhesive residue that remains.
Drilling the Holes
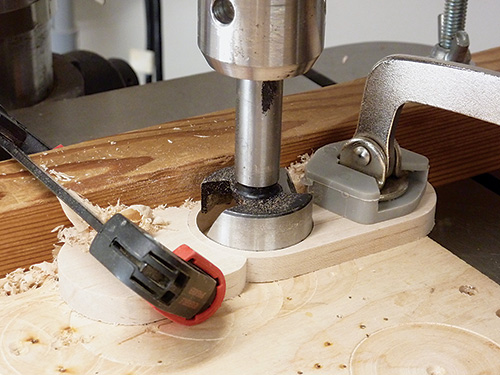
I chose 3/8″-thick stock for a more delicate look than is typical of most tea light candleholders. This, however, will require drilling both through and shallow holes in the modules to obtain the necessary depth for the candles. You’ll use a 1-9/16″-diameter Forstner bit to drill all holes. This size easily accommodates a standard tea light candle without excessive play. (A 40 mm Forstner bit, about 0.5 mm larger, can also be used.)
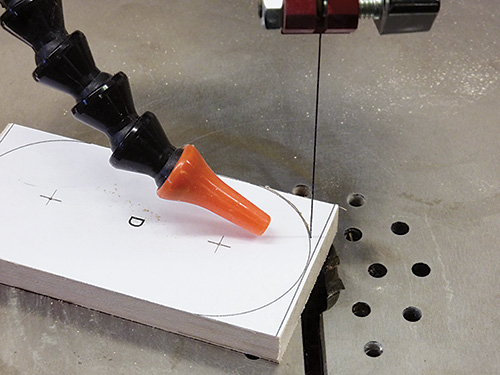
Before drilling each hole, deepen the awl mark with a center punch to make it easier to position the Forstner bit accurately. Start by drilling a through hole at one end of each of four D pieces, which will become the tops of the four side modules. Drill through holes at both outer awl marks of piece A as well. (The center hole of piece A is shallow and will be drilled later.) Then make the collar for the top center hole.
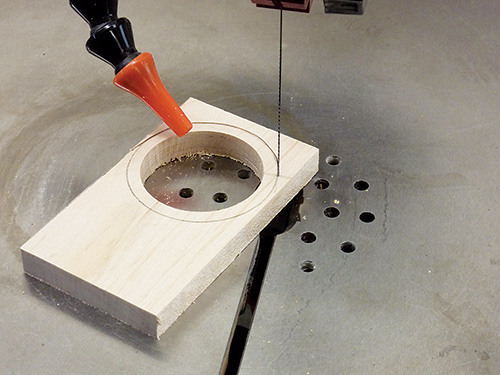
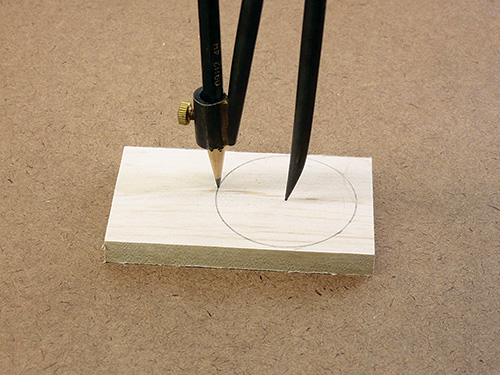
Begin by using a compass to draw a 1-7/8″-diameter circle at one end of the 2″ x 3″ workpiece. Deepen the center mark with a punch and drill a through hole at this mark. Cut to the outside of the circle and sand to the line with a belt sander to complete the collar; set it aside for now.
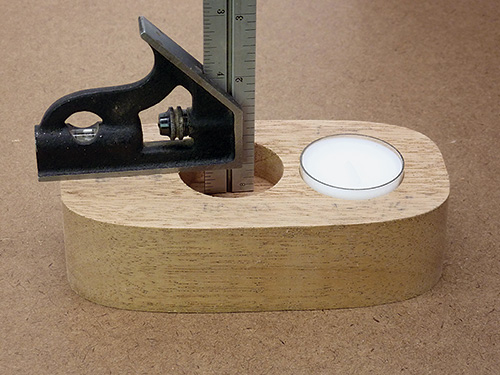
Next, compute the full depth of the candle holes by measuring the height of your candles and subtracting 1/16″. My candles measured 5/8″ tall, so their full hole depth is 9/16″. It’s a good idea to drill a test hole to confirm the correctness of your setting. Use this figure to compute the depth for the shallow holes by subtracting 3/8″ (6/16″) from your computed full depth; mine came to 3/16″ (9/16″ minus 6/16″). Drill a test hole to that depth, set the center collar over it and insert a candle; it should seat to the same depth as with the full hole.
The spur of the bit may pierce the underside of the wood when you drill these shallow holes, but it should leave just a pinpoint. Drill a shallow hole at the middle punch mark of piece A and the remaining punch marks of the four drilled side module D pieces. Next, drill shallow holes at one end of two of the remaining undrilled D pieces. These are the tops for the two end modules.
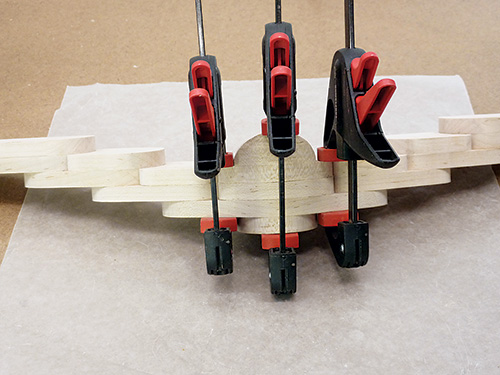
Gluing and Clamping the Components
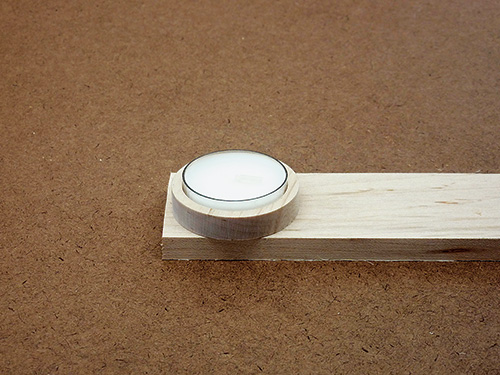
Glue each of the tops for the end modules to one of the remaining undrilled D pieces. When the glue dries, drill a full-depth candle hole at the remaining drilling point of each of these end modules. These deeper holes will face outward when the end modules are glued into place.
To make the center module, glue the collar into place on piece A, aligning it with the shallow-drilled hole. A toothpick can help spread glue around the rim of the shallow hole to minimize excess. Clamp, carefully remove any squeeze-out, and let the glue dry.
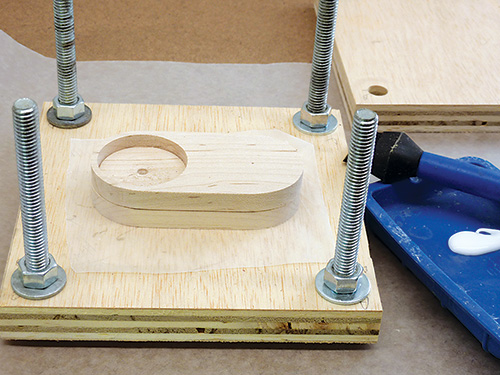
Place a loop of masking tape on the top face of the upper support (piece B) and press that piece gently into position on the underside of piece A, aligning their front and back edges. Slide the shallow-drilled end of a D piece under each end of the A piece.

Adjust the parts as needed until the through and shallow candle holes on both sides are aligned. Press down on A to compress the tape loop and secure this position. Remove the D pieces and mark across A/B to register the glue-up. Then peel off the masking tape and glue A and B together. Clamp the parts, making sure the penciled reference marks remain aligned while the glue dries.
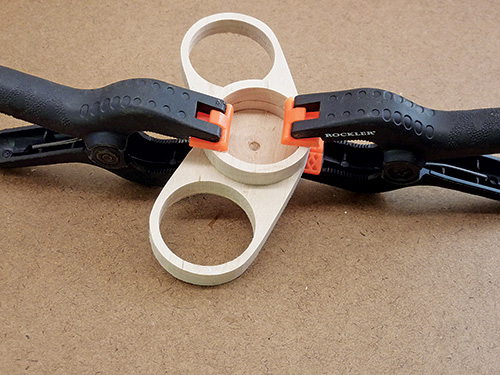
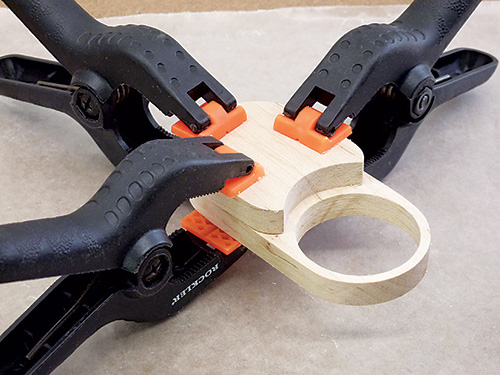
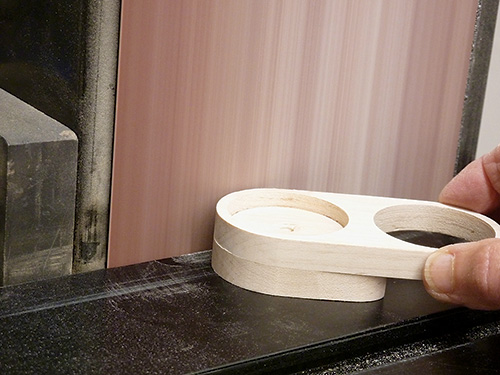
To make the four side modules, glue one bottom side E piece to the underside of each of the four remaining D pieces. Clamp each module, carefully removing any squeeze-out, and let the glue dry. Sand the sides of the modules flush with a vertical belt sander.
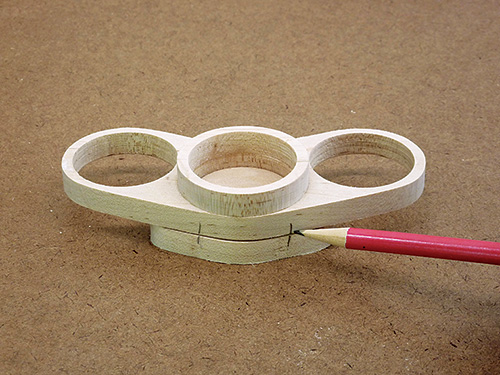
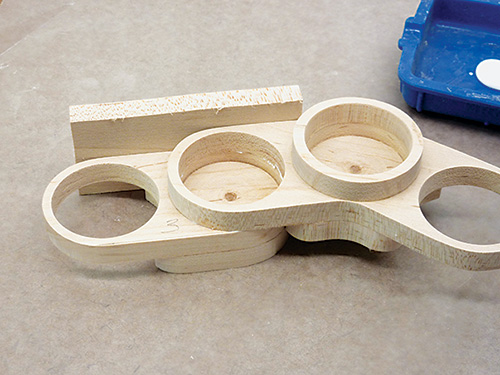
Before gluing all the modules together, it’s a good idea to do a dry run to determine the sequence that gives the best fit between adjacent units and the most attractive appearance. Use pieces of 3/8″ scrap to stabilize the modules as you try out your options.
When you’re satisfied with the arrangement, number the modules to prevent confusion during glue-up. If you’re planning a curved version, make a small angle guide to keep the menorah’s overall shape uniform.
Assembling Modules, Finishing Up
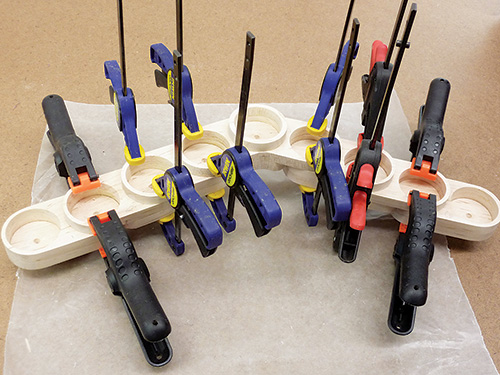
Begin by gluing a side module to one end of the center module. Clamp the glued unit, clean away squeeze-out, then attach a module to the other end in the same way. Add modules outward in this manner. Make sure the deeper candle holes on the end modules face out.
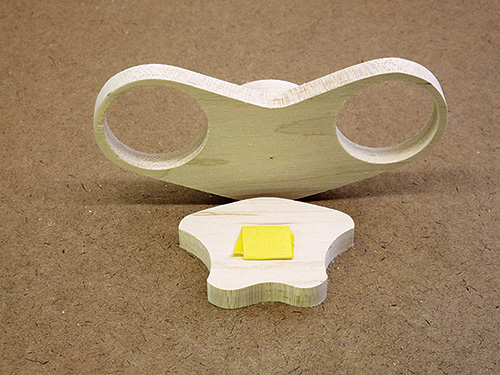
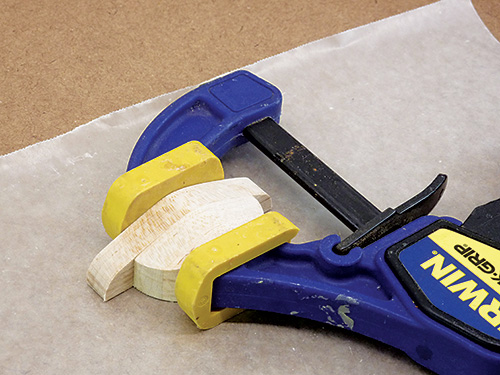
The center of the menorah is stabilized from behind by a three-piece glue-up of lower supports (C). Face-glue the two shortened lower supports and let this assembly dry.
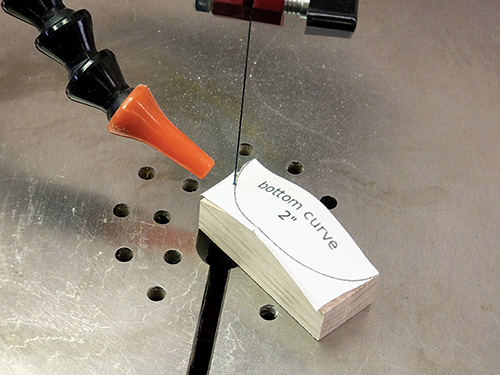
Then orient this piece with its curved side up and attach pattern F to the top face. Cut along the pattern’s curved line to create the foot for the stabilizing unit. Sand it smooth.
Now glue the flat face of the foot to the full-length lower support piece, matching their curved and flat faces. Sand this assembly when it dries, then glue and clamp it into place at the back edge of the menorah.
Sand the whole project to 220-grit. I finished my menorah with shellac, then several coats of lacquer, smoothing between coats with 0000 steel wool.


