As close as we are to Canada here in Minnesota, you would think that I would have heard a thing or two about the game of Crokinole. I had not. So when our coworker Dan Cary brought it to our attention, I was a bit skeptical. If the game is so great, why do none of us know about it? And to be honest, I can’t answer that question, because I have learned two things about Crokinole: first, that it’s fun, and second, making a Crokinole gameboard is also fun — and pretty easy.
A quick Internet search will reveal that there are many Crokinole boards for sale (some for nearly $400!) and a variety of accessories. But one reason I think that this game is gaining in popularity is that with a basic board and your game pieces (we found ours on Amazon), you will be set up for hours of fun.
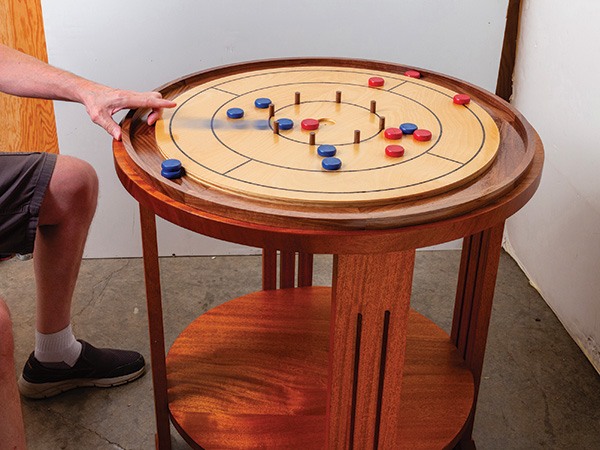
The game can be played with two or four people. There are variations of play, too — each player for themselves or as teams. You play seated at a table, and one of the more interesting rules is that once you sit down, you may not move your chair from side to side. While the game is a bit complicated to explain in a sentence or two, you basically try to score by flicking your pieces into a specific spot or reduce your opponent’s score by bonking their pieces out of scoring position … or by doing both at the same time. Yep, it’s fun!
Crokinole: Finger-flicking Fun
Crokinole is unmistakably a Canadian creation, and its origin likely came about in Ontario in the 1860s. The game evidently blends components of English, French, German and even East Indian games (most likely pub games). There are regional variants to the game, and it became very popular in the 1950s with league competition common in both large and small towns. You can download rules to the game here.
Making the Base
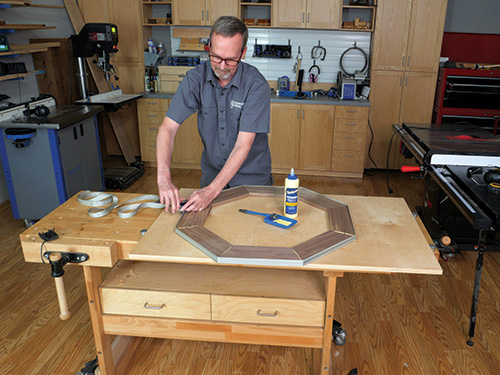
Our board has a hardwood base or frame onto which we glue the actual plywood gameboard. I started out by making an octagon from walnut segments. This effort is a bit of addition by subtraction, as I eventually routed away most of the walnut material. And that’s the reason I did not use biscuits or dowels to help reinforce the octagon frame: they would be exposed by the subsequent machining. Glue the pieces together and use a band clamp to apply sufficient pressure as the glue cures. As you are basically gluing end grain to end grain, allow the glue to cure fully, and do not treat the subassembly roughly. You don’t want to break those glue joints.
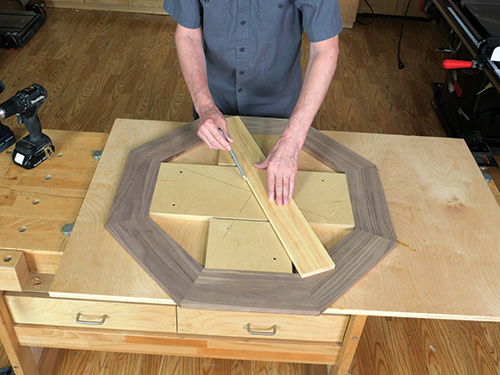
To facilitate shaping the frame, use MDF or something similar to make blocking that holds the frame securely as you remove material with your router. Screw the blocking to a work surface or sacrificial board.
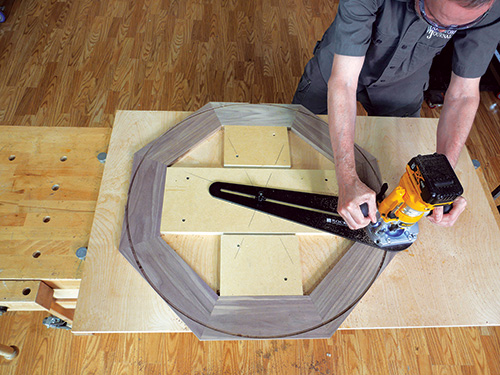
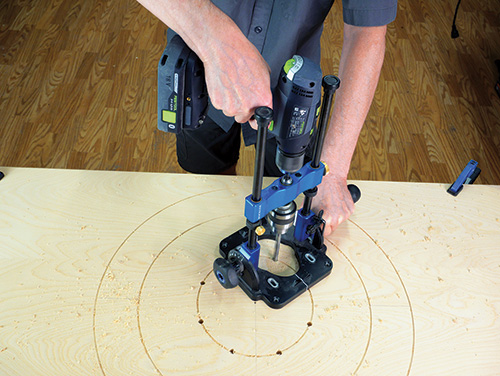
I chose to use a cordless DEWALT router mounted to Rockler’s circle-cutting jig to cut the walnut octagon round. The jig’s adjustability is key to making this project. You can quickly change the diameter with the twist of a knob. Because you will be not only cutting the frame round but also nibbling out a trough into the hardwood, that quick adjustability makes this task much more fun.
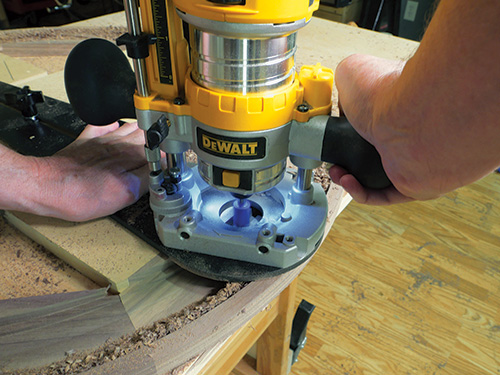
Find the exact center of the octagon/blocking setup and mount the circle jig right there. With a 1/4″-diameter straight bit chucked into the router, start out by cutting the frame round. Make a series of shallow cuts to keep the process manageable.
Switch to a 1/2″ straight bit to form the trough by removing more material in a series of cuts. See the Drawings for details. While my cordless router is not super powerful, by taking my time with shallow repeated cuts, it worked really well.
Building the Board
Next up is the gameboard. Made from 1/2″ birch plywood, it’s a round disc that has a bit of colored inlay and eight pegs mounted into the surface.
Start out with a 24″ x 24″ piece of plywood. Find its exact center and then go ahead and grab — you guessed it — your circle-cutting jig again Chuck a 1/8″-diameter straight bit into the router and set it to make a 1/8″-deep cut. You’ll be plowing circular grooves into the surface of the wood. Set the diameter of each circle according to the Drawings. Rout the grooves and then remove the circle-cutting jig for now.

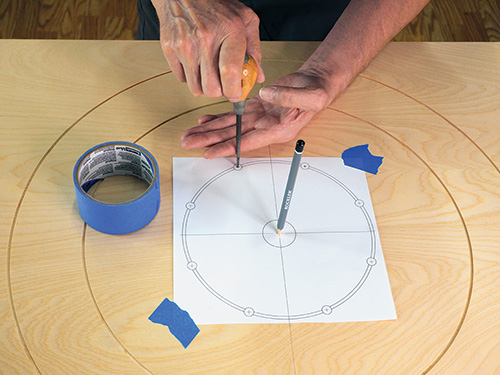
We have a free downloadable PDF template that you can print out for the next step. Use it to lay out the locations of the peg holes as well as the straight grooves that connect the two outer circles. Those straight lines will form the playing quadrants when they get the dark wood filler put in them.
Use an awl to punch divots in the center of each peg hole; they will help you start the drill bit accurately. I used Rockler’s portable drill guide and a 3/8″ brad-point drill bit to bore the eight peg holes. Gently engage the brad-point bit onto the surface of the plywood to limit tearout.
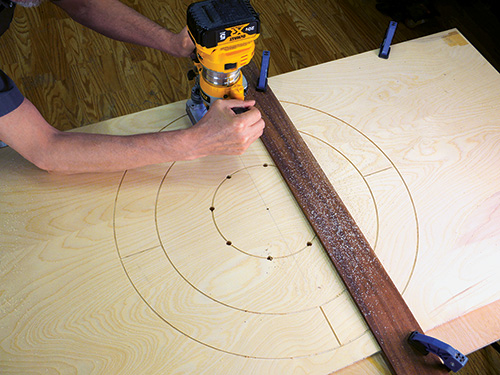
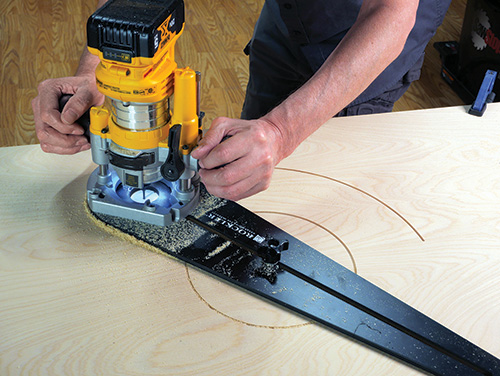
With that taken care of, clamp a straightedge to the gameboard, as shown in the photo above. Use it to guide the router as it cuts the straight connecting grooves. Be careful not to rout past the circle grooves, which would look unsightly. With all those tasks in the rearview mirror, it’s time to make use of the circle-cutting jig one more time.
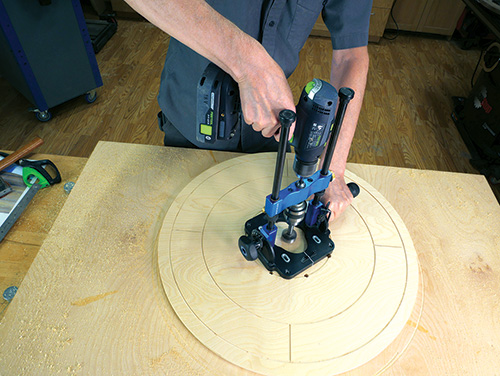
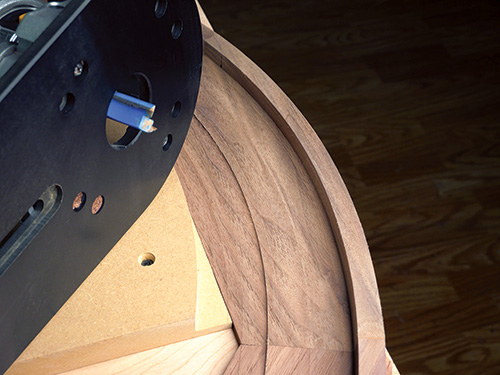
Reattach it to the center of the gameboard, and as you did with the octagon frame, rout the circle free from the square plywood sheet. Take several deepening passes to form the circle. Finally, use a 1-3/8”-diameter Forstner bit to bore the shallow center hole.
Making it Slippery Smooth
Central to the game of Crokinole is flicking the playing pieces across the board to various scoring positions. So it makes perfect sense that the more slippery the surface is, the better the game pieces will slide. Here’s how I went about getting a super-smooth finish on the piece.
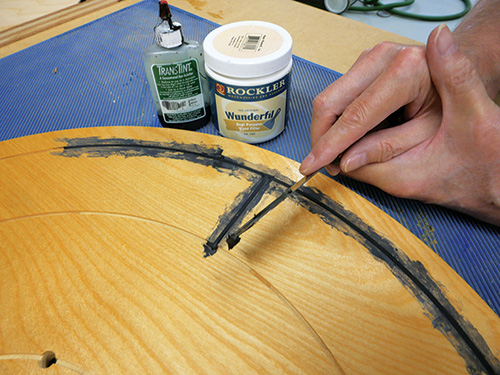
First, I gently sanded the gameboard, starting with 150-grit and working up to 220-grit abrasives. Then I applied two coats of lacquer sanding sealer from an aerosol can. When that cured, I sanded it gently with 320- and then 400-grit sandpaper. At that point, I sprayed on another coat of sanding sealer. With the surface well-sealed and smooth, I loaded the grooves with Wunderfil Wood Filler tinted with black dye. After the first application, I sanded the waste away. The filler had shrunk enough that I leveled the grooves off with more filler. Then I sanded the surface with 320-grit paper to remove any excess. One more coat of sanding sealer and then two coats of high-gloss lacquer, again from a rattle can, completed the gameboard’s finish coat.
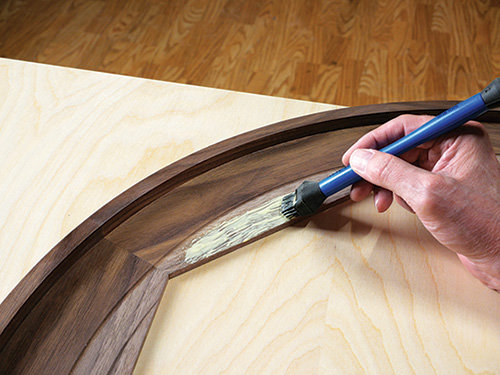
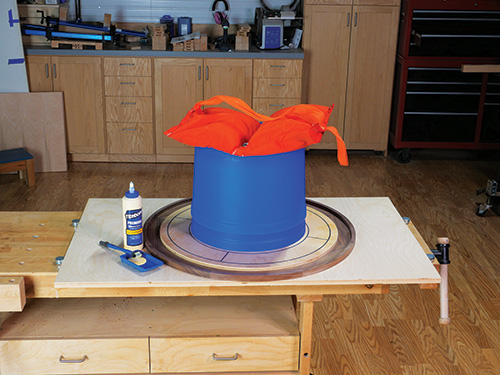
Now to glue the frame onto the gameboard. As you can see in the image at bottom right, I got creative regarding how to apply pressure to this broad glue joint. When that’s done, carefully apply sanding sealer and lacquer to the walnut trough to finish it.
Cut a 3/8″-diameter walnut dowel into eight pegs. I stuck them into a piece of cardboard to hold them while I applied a spray finish. Glue them in place on the gameboard. After a couple of days, I applied a coat of paste wax to make the gameboard surface even more slippery, and I was done. You can find the rules to Crokinole online, and I recommend you watch some YouTube videos demonstrating how the game is played. Enjoy!


