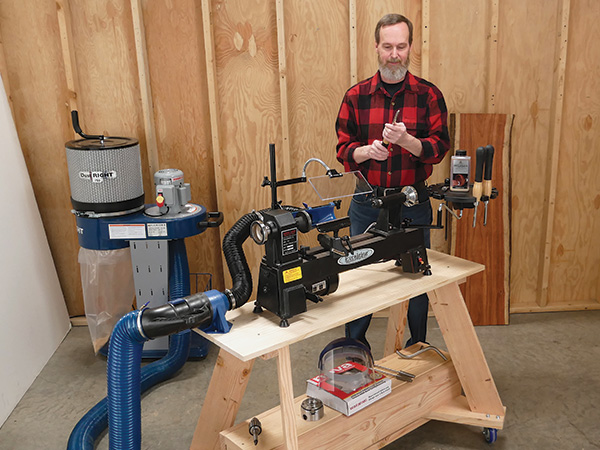
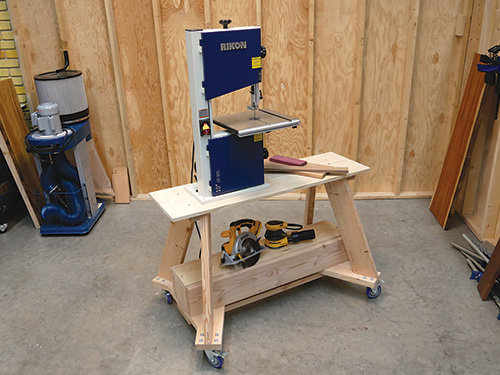
The more functional a shop project is, the better I like it. So when I designed this mobile stand for my mini lathe, “fancy” took a back seat to utility. It’s built from common 2x and 1x construction lumber to keep costs down. I splayed the legs to give it a sure stance. Large casters make it easy to move the lathe from a corner of my garage shop out into the open when I want to use it, and sand poured inside the bottom box provides enough ballast to dampen any vibration and keep the lathe stationary, even without the casters locked. If you don’t have a lathe, this stand could be a great place to park other tools, like a small band saw, drill press or benchtop sander.
My stand’s height places the lathe’s spindle at about elbow height for me — right where you want the spindle to be for comfortable turning — and I’m about 5’10”. If you’re taller or shorter, you may need to change the length of the legs and their splay angle to make this project better suit your height.
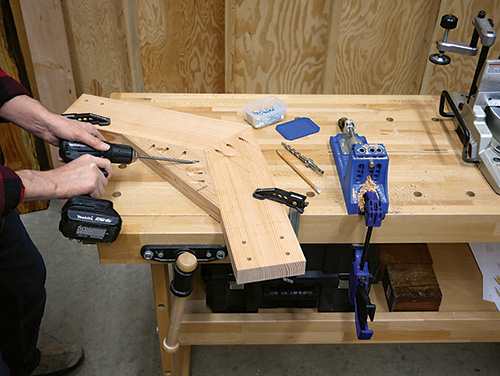
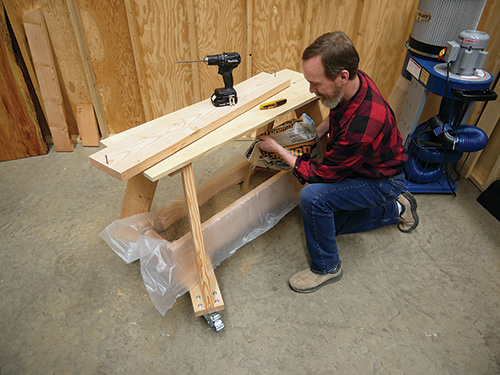
Building the Leg Sets
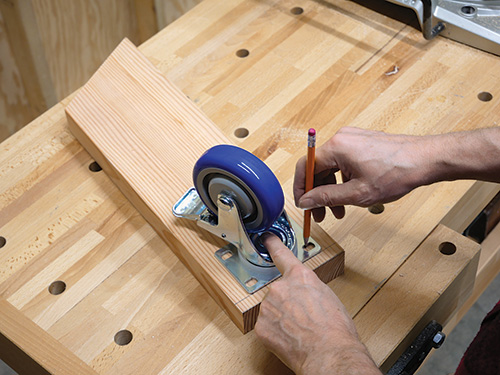
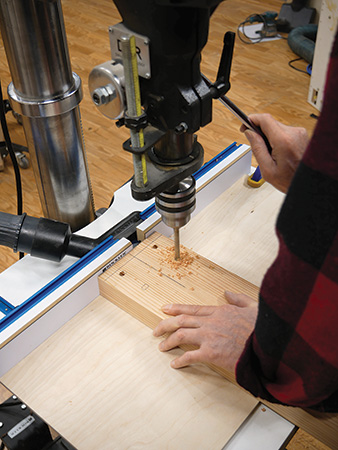
Get this project off to a quick start by ripping a blank for the caster brackets and then forming a 30° angle in the middle of the piece. Cut the pieces to length and repeat the process. Then cut two square-ended blanks for the base gussets. Mark each caster bracket for bolt holes, and drill these holes all the way through; I located my casters 1/2″ in from the brackets’ square ends.
If you have a pocket-hole jig as I do, set it up for drilling 2x stock, and bore three screw pockets into the angled end of two caster brackets. Attach a drilled bracket to an undrilled bracket with 1-1/2″ coarse-thread pocket screws to create two caster bracket subassemblies.
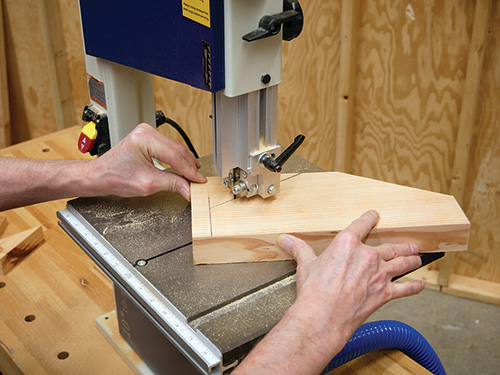
A base gusset will strengthen these bracket miter joints; we’ll add those next. Bisect the gusset blanks with a square center line. Place a bracket subassembly on top of the blank with its joint aligning with your marked line and its outside edges at the blank’s corners.
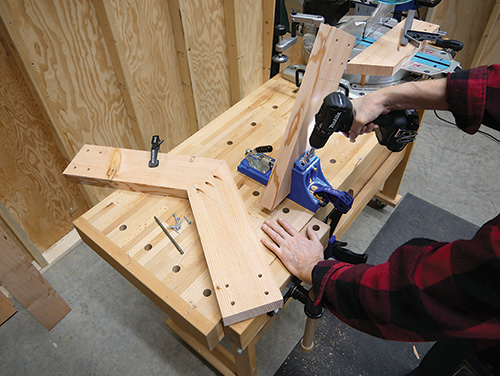
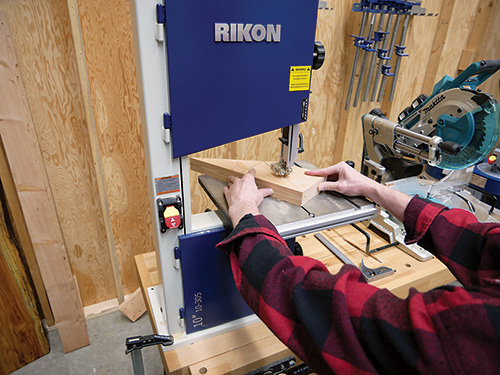
Trace along the outer edges of the brackets, then cut the gusset carefully to shape on your band saw. Use the first gusset as a template to trace and cut the second gusset to shape. Drive six pocket screws through each gusset’s face and angled edges to attach it to its caster brackets.
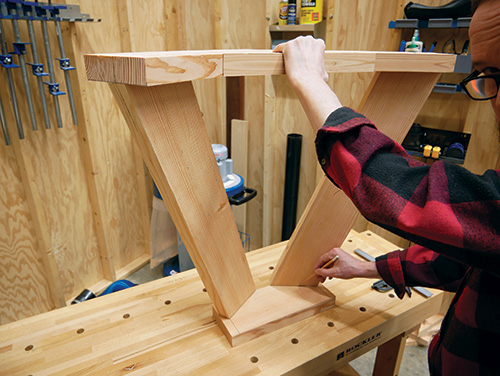
Head back to your miter saw and pivot it to 21-1/2° so you can cut the four legs to length, mitering both ends of each leg. Set a pair of legs on a caster bracket subassembly with their bottom pointed ends even with the ends of the brackets. Center each on the bracket’s width.
Clamp the legs in place and measure across the outside top corners of the legs. Make sure this distance is 14-1/2″ or less so the legs will hide under the top boards. Check that the legs line up with one another well, then drive 3″ screws through the brackets and into the legs to secure them.
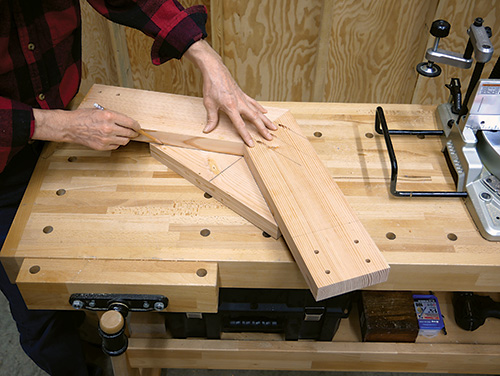
Next, rip blanks for the upper gussets to width, but leave them a couple of inches overly long. Flip the leg set over so you can mark the positions of both legs on its upper gusset, and cut out both gusset “trapezoids” on your band saw. Repeat as you did with the base gussets, fastening the upper gussets to the outside faces of the legs with more pocket screws.
Assembling the Stand’s Framework
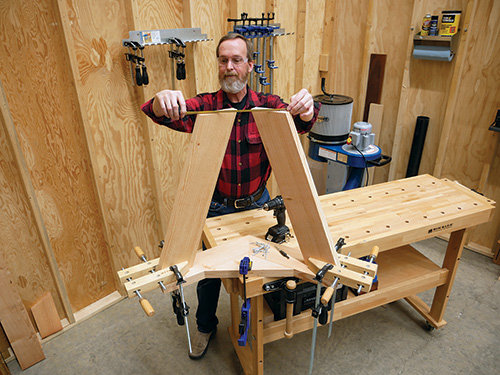
Cut the bottom stretcher to length from a piece of 2×8. Line up the outside edges of the base gussets with the ends of the stretcher, and drive countersunk 3″ screws through the gussets and into the stretcher to lock the leg sets in place.
You can now crosscut both top pieces from a 1×8, set them together on top of the leg sets and drive countersunk 2″ screws down through them and into the upper gussets. Make sure the top pieces overhang the leg sets evenly all around and that their ends are aligned before you drive these screws. Then bolt the casters to the stand.
The last bit of woodworking involves building the ballast box that mounts beneath the stand. Crosscut the box’s top, bottom, sides and ends to length from 2×8 lumber. Now rip and crosscut two cleats from scrap 2x stock; these will support the box top. Screw the cleats to the inside faces of the box sides, 1-1/2″ down from the top. Assemble the bottom, sides and ends of the box with pocket screws. Attach the box to the stretcher with 3″ countersunk screws driven through the box’s bottom.
Add Sand to Finish Up
I used a piece of 6 mil plastic sheet to line the inside of the box, then poured 50 lbs. of coarse sand into the box and leveled it out before securing the top in place with countersunk screws.
You can apply finish to the stand if you prefer, although it really isn’t necessary. Then trick it out any way you like, with a tool rack, power strip, dust collection, task light and anything else that suits your needs. I’ve added a number of Rockler products to mine, and we’re providing a list of them as a “More on the Web” addition to this article.
Click Here to Download the Drawings and Materials List.
Hard-to-Find Hardware:
4″ Polyurethane Casters, Total-Lock Swivel (2) #23030
Kreg Jig® K4 Pocket Hole System (1) #53310
Kreg 1-1/2″L #8 Pocket Hole Screws (1) #38541


